
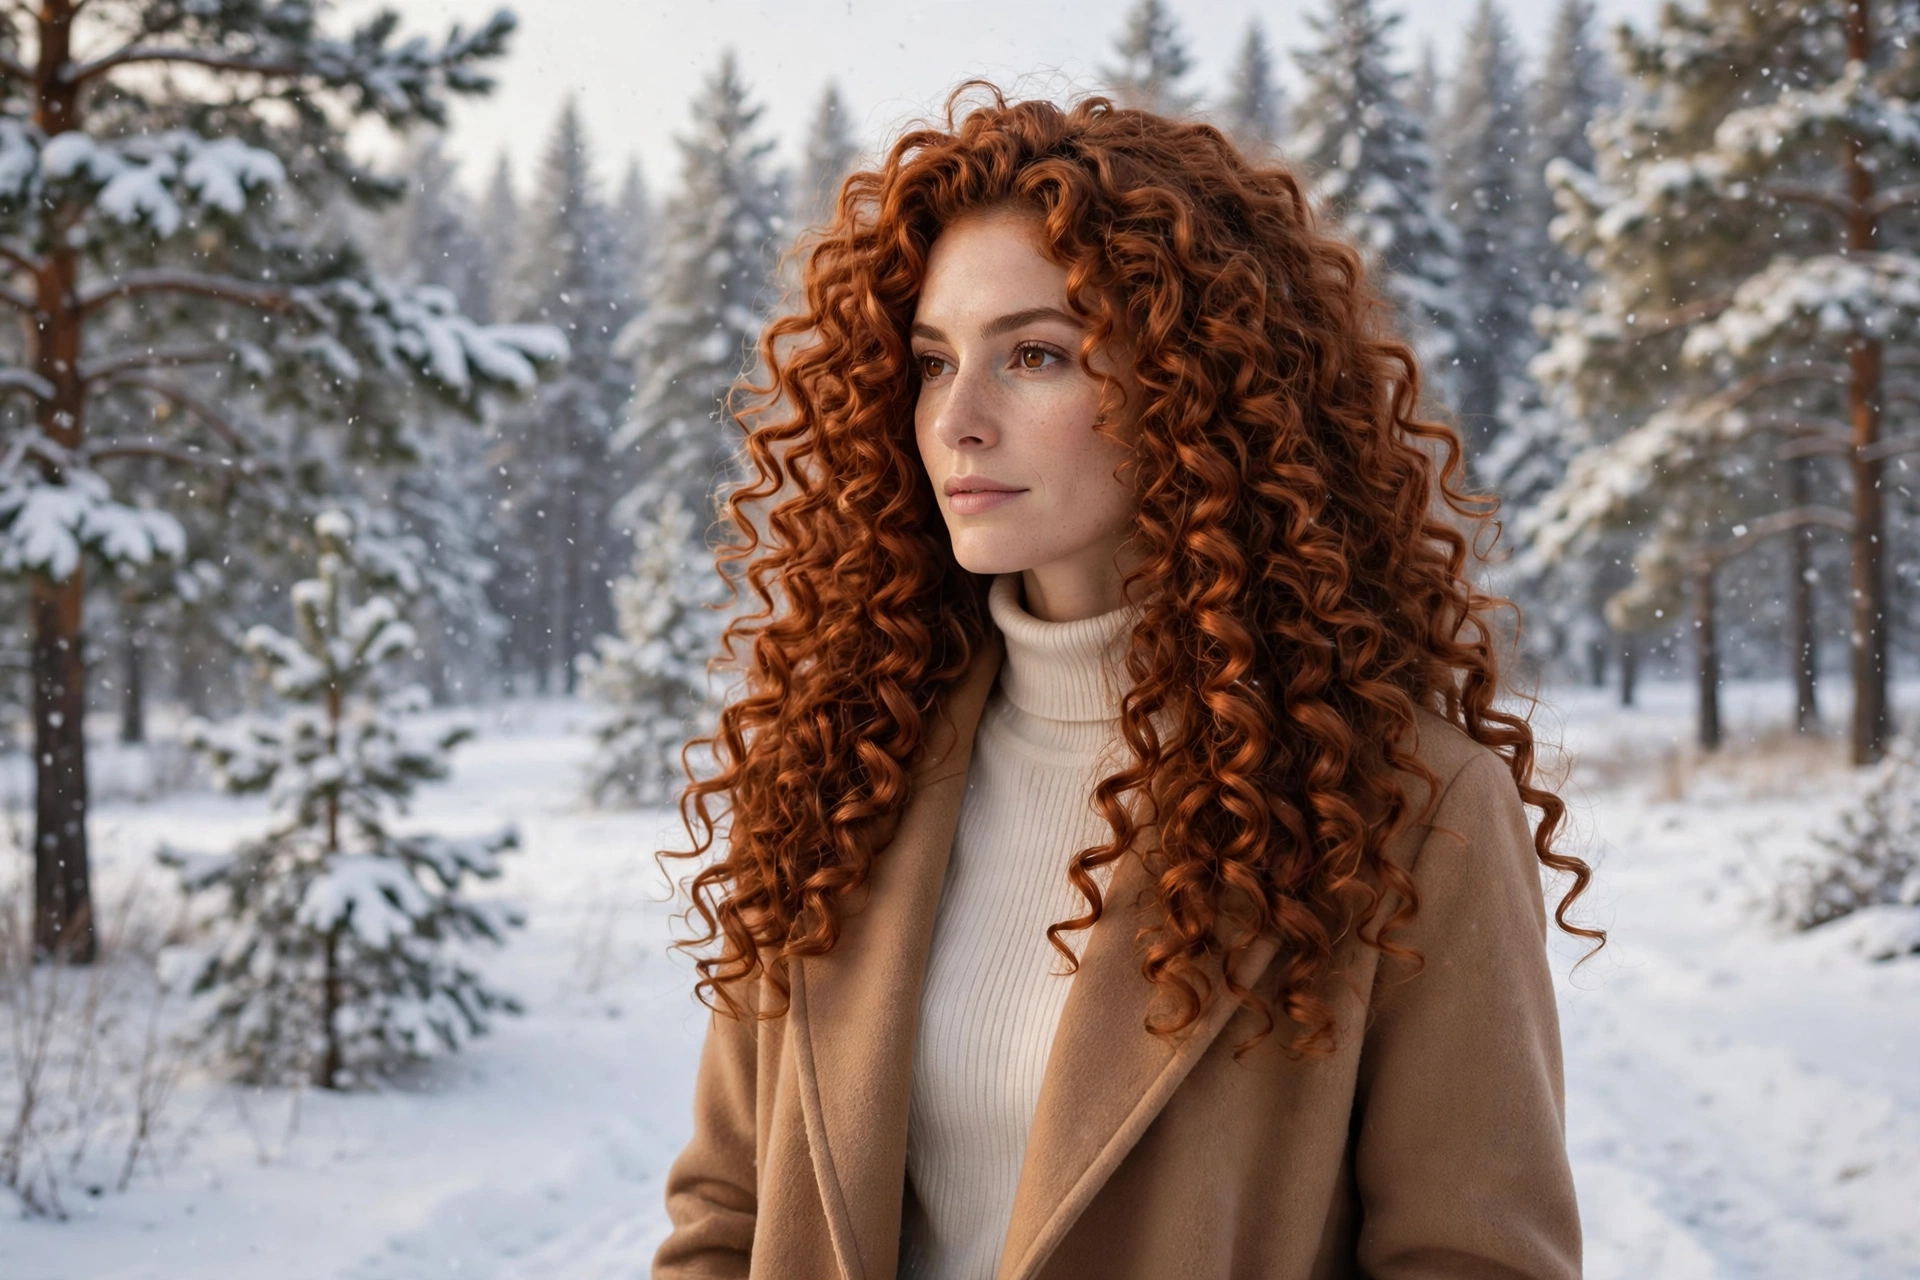
12 Frizz-Free Winter Curly Hairstyles for Women
If you’re hunting for winter curly hairstyles for women that genuinely survive dry, cold air — not styles that look perfect for ten minutes and then balloon into a frizz halo — you’re in the right place. The best winter curly hairstyles for women in 2026 are the Frosted Pineapple Wash-and-Go, the Halo Twist Protective Updo, and the Silk-Wrap Curl Cascade, and our editors tested every single one of the twelve looks below for frizz control, moisture retention, and real-life wearability. Winter is objectively the hardest season for curly hair: indoor heating and icy outdoor air both pull moisture straight out of the hair shaft, and curly hair — already drier than straight hair by nature — feels it first and worst.
Here’s the uncomfortable truth most styling guides skip: frizz in winter isn’t a styling failure, it’s a moisture failure. Curly hair’s twists and turns slow the travel of your scalp’s natural oils down the strand, so winter’s low humidity leaves ends thirsty, cuticles lifted, and definition gone by noon. Curly winter hair care in 2026 is built on three pillars: soak the hair in moisture while it’s wet, seal it in with cream and gel, and protect the ends with smart styling.
That said, style choice genuinely matters in winter. Protective and semi-protective styles that tuck your ends away (twist-outs, flat-twist updos, braided crowns) lose moisture far more slowly than loose, fully exposed lengths. Styles that work with hats and scarves without getting crushed save you from the dreaded hat-hair-plus-frizz combo. And cuts with good internal layering distribute product and moisture more evenly, so definition forms faster on wash day. This list was built with all three of those realities in mind.
One more thing worth saying plainly: your curl pattern and porosity decide which of these styles will love you back. A low-porosity 2B wave and a high-porosity 4C coil have almost nothing in common on wash day, and winter exaggerates every difference. That’s why each style below names its best-for curl types honestly — from 2A waves to 4C coils — and why we built a whole section on matching styles to your pattern and porosity.
What makes this guide different: every style below comes with the full picture — what it looks like on real curls, exactly how to get it, honest best-for curl-type guidance, real maintenance expectations, and a pro tip with a real product recommendation. Below, we’ve rounded up 12 frizz-free curls 2026 winners for winter wear — let’s find yours.
- 1. Frosted Pineapple Wash-and-Go
- 2. Milkmaid Curl Crown
- 3. Halo Twist Protective Updo
- 4. Snow-Kissed Ringlet Bob
- 5. Gingerbread Braid-Out
- 6. Mulled-Wine Coil Pixie
- 7. Fireside Diffuse-and-Go
- 8. Silk-Wrap Curl Cascade
- 9. Northstar Half-Up Crown
- 10. Winterberry Coil Shag
- 11. Ember Glow Wash-and-Go
- 12. Yuletide Space Puffs
Editor’s Top 5 Frizz-Free Curly Picks
Short on time? These are the five winter curl looks our editors keep coming back to — the highest frizz-control-to-effort ratio on the entire list, all tested through dry heated rooms and windy commutes.
1. Frosted Pineapple Wash-and-Go
The undisputed hero for coily textures. A high, loose pineapple preserves wash-day definition overnight and under beanies, keeps ends off scratchy collars, and takes thirty seconds. Adopt one habit this season — make it this one.
2. Halo Twist Protective Updo
Flat twists swept into a low updo, tucking every end away from dry air. Our editors wore it on the coldest, windiest test days — and it emerged with definition intact days later. Maximum protection, zero heat.
3. Silk-Wrap Curl Cascade
Long, defined curls via the silk-scarf wrap method: sleep on silk, refresh with a light mist, and the cascade stays glossy for days — the lowest-maintenance way to wear long curls in winter.
4. Snow-Kissed Ringlet Bob
A chin-to-shoulder curly bob with strong internal layering that distributes product evenly and defines fast. Shorter lengths lose less moisture to the air, and the shape pops beautifully out of a beanie.
5. Milkmaid Curl Crown
Two Dutch braids wrapped into a crown that keeps every strand contained and protected. Our pick for outdoor winter days — festivals, markets, snowy walks — because wind cannot touch your curls under that crown.
The Winter Curl Routine: Moisture, Sealing, and Protection
Winter curl care is a sequence, not a product. Get the order right and even a basic routine outperforms an expensive one done wrong. The sequence our editors tested across every curl type on this list is simple: cleanse gently, condition deeply, apply leave-in to soaking-wet hair, seal with a cream, lock it in with a gel or oil — then choose a style that protects the ends. Each step has a winter-specific reason, so here’s the honest breakdown.
Start with gentler cleansing. Harsh sulfates strip the little oil curly hair has, and in winter that deficit shows up as instant frizz. A sulfate-free cleanser or a co-wash keeps your scalp clean without robbing the lengths; wash less often in winter too — most curl types do beautifully stretching to once a week or even every ten days, because every wash is a moisture reset you’re starting over. If you’re rebuilding your routine from scratch, these dermatologists’ tips for healthy hair are a solid baseline for what actually matters versus what’s marketing.
Deep conditioning becomes non-negotiable from November through March. Indoor heating sits around 20–30% humidity — drier than most deserts — and it pulls water out of your hair all evening long. A rich mask once a week — 15–20 minutes under a shower cap so body heat helps it penetrate — made the single biggest difference in our testing. Focus the mask on the mid-lengths and ends, where curly hair is oldest and thirstiest; the roots will be fine with whatever rinses through.
The sealing step is where winter routines are won or lost. Apply your leave-in conditioner to soaking-wet hair — not damp, soaking — because water is the actual moisturizer and everything else just holds it there. Then layer a cream for softness and a gel with hold (the classic LOC or LCO method: liquid, oil, cream or liquid, cream, oil), scrunching each layer in rather than raking, which disturbs clumps. A hard-hold gel cast that you scrunch out once dry is your frizz insurance policy: it forms a humidity barrier that keeps dry air from wicking moisture out of the strand. If the method feels fiddly, this curly hair care guide from Healthline walks through the layering logic step by step.
Drying matters more than most people think. Diffusing on low heat with the cup pointed upward sets your curl pattern quickly — air-drying in a cold house is a frizz factory, because the longer hair stays wet, the more the cuticle swells and roughens. If you must air-dry, plop with a cotton T-shirt first; never rub with a terry towel, which roughs up curl cuticles.
Finally, protect the finished style. Silk or satin pillowcases, bonnets, and pineapple-ing at night reduce the friction that turns day-two curls into frizz. Outdoors, tuck ends into collars, buns, or braids, and line winter hats with silk or satin — wool hats are moisture thieves.
Choosing Curly Styles by Curl Pattern and Porosity
Your curl pattern (2A through 4C) describes the shape of your curl; your porosity describes how easily your hair absorbs and loses moisture — and in winter, porosity is the variable that actually runs the show. High-porosity hair (often from color, heat damage, or just genetics) drinks up product fast and loses it faster, so it needs heavier creams, butters, and strict sealing. Low-porosity hair has tightly closed cuticles that resist product — it does better with lightweight leave-ins applied to very wet hair and benefits from gentle heat (a warm towel, a steamer) to open the cuticle during conditioning.
Tight coils (4A–4C) hold protective styles — flat-twist updos, braid-outs, pineapples, puffs — beautifully for days, because the texture grips itself; this is your winter superpower, since protective styling is exactly what dry air demands. Classic curls (3A–3C) are the most versatile group on this list: wash-and-gos define easily, bobs and shags shape well, and half-up styles hold without slipping. Waves (2A–2C) need lighter products and styles that don’t weigh them down — diffuse-and-go routines, crown braids, and claw-free twists work better than heavy protective styles that can pull waves straight.
Fine, low-density curls get weighed down by butters and heavy gels — if your curls fall flat by afternoon, your products are too rich, not your technique. Thick, high-density hair can (and in winter, should) take richer layering without losing volume. And length is a moisture liability: the longer the hair, the more of it is exposed to dry air and the older and more fragile the ends are — which is why long-haired curlies on this list lean on silk wraps, pineapples, and tucked styles rather than wearing everything loose every day.
When in doubt, run our editors’ two-week test: pick one style from your pattern’s sweet spot, wear it for two full wash cycles, and judge only on day-three hair — not wash day, when everything looks good. The style that still has definition and softness on day three, with just a water-and-leave-in refresh, is your winter winner. Write it down, because by February you’ll have forgotten which one it was.
12 Frizz-Free Winter Curly Hairstyles for Women (2026)
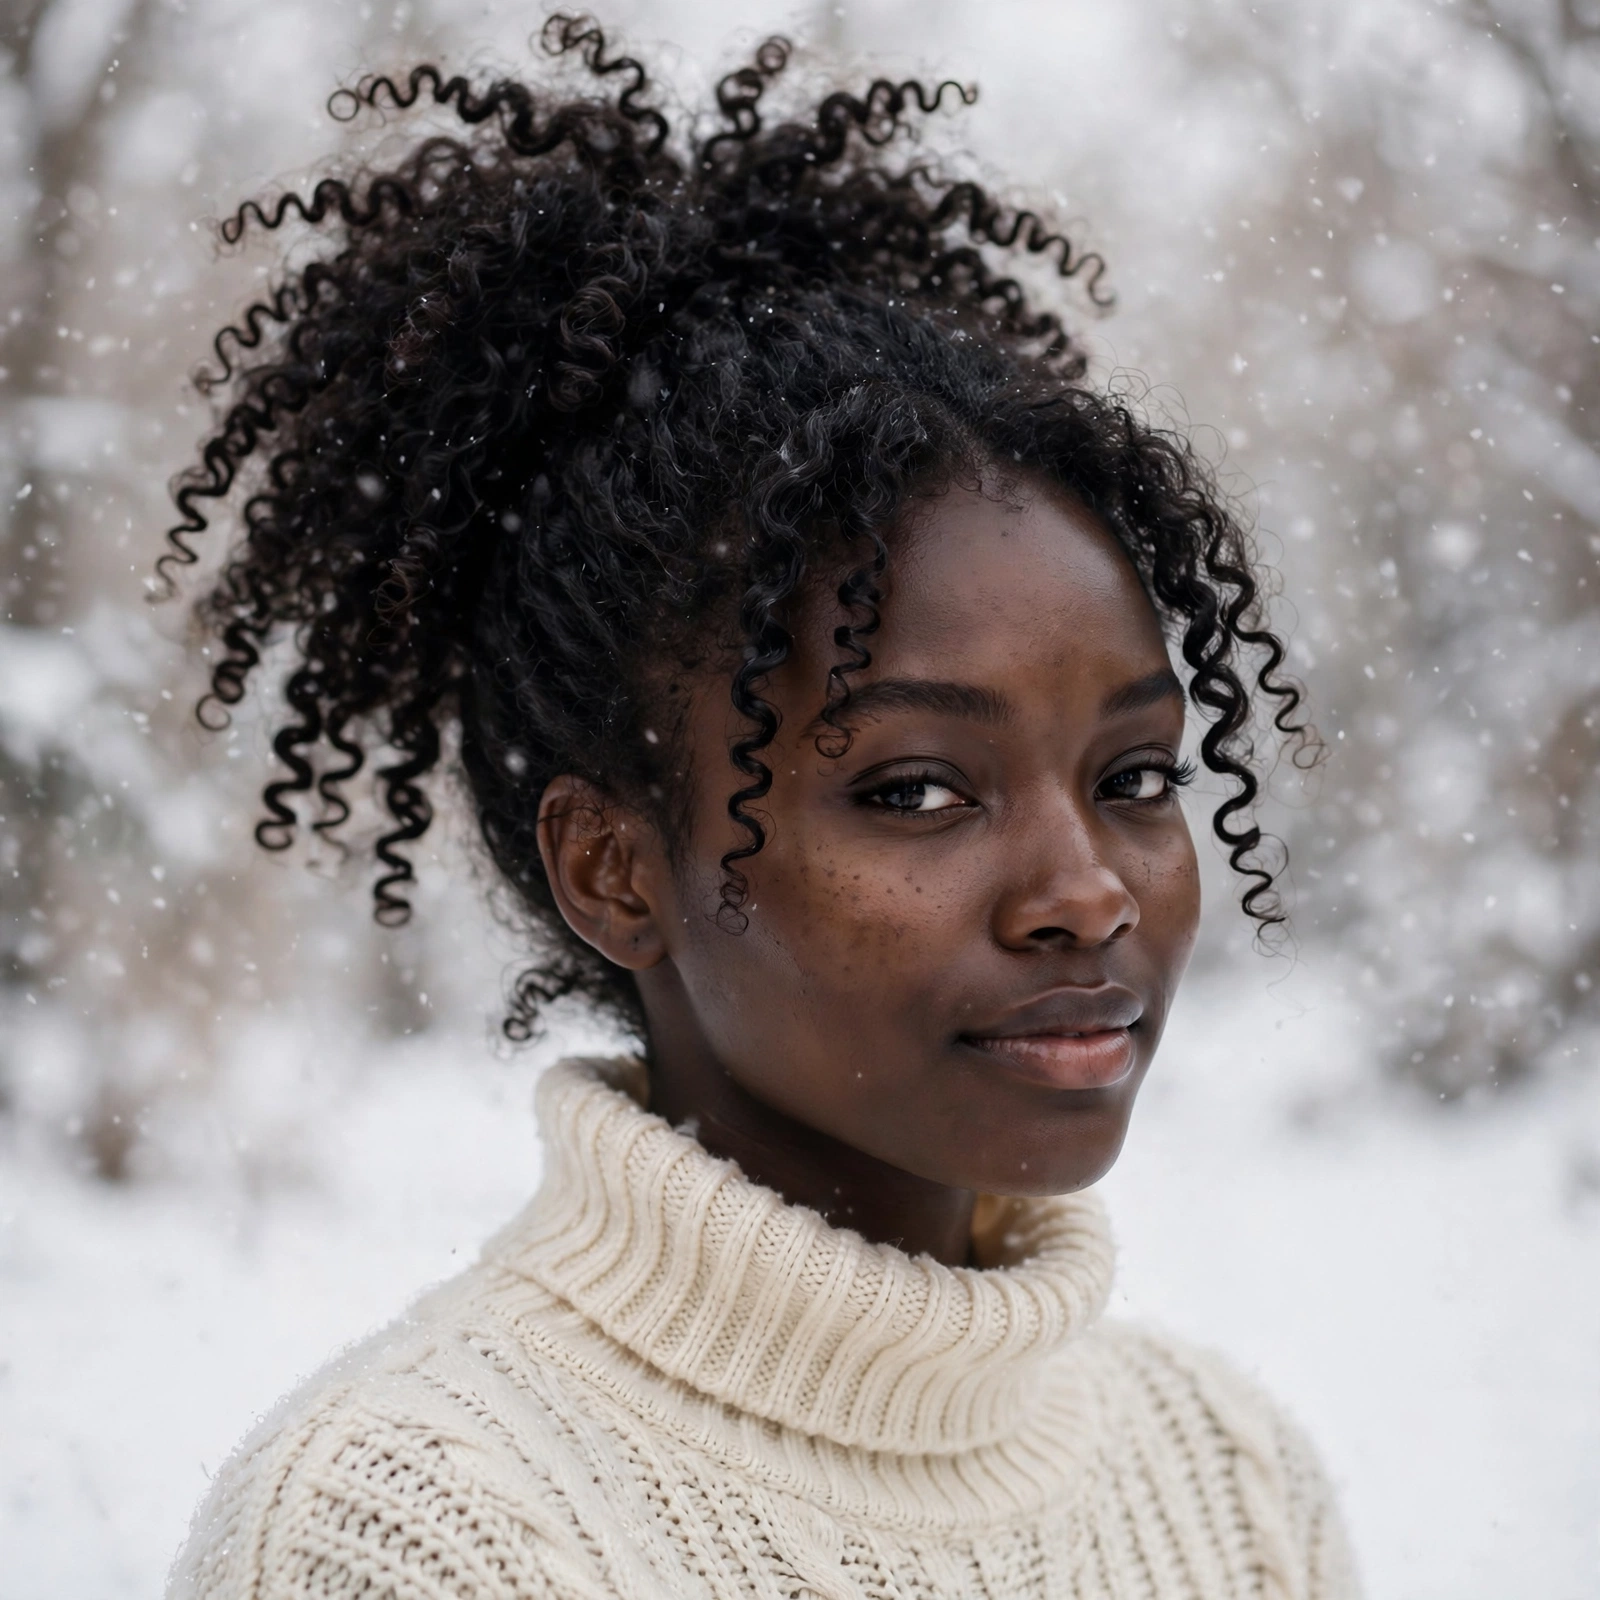
1. Frosted Pineapple Wash-and-Go
The pineapple — curls gathered into a high, loose ponytail at the crown — is the coily girl’s winter survival system. Under a satin bonnet overnight, it keeps wash-day clumps from crushing flat; under a satin-lined beanie by day, it keeps ends off scratchy wool collars and out of the wind. The winter upgrade is the “frosted” finish: a light leave-in mist plus a pea-sized smoothing of cream on the canopy each morning keeps the outer layer glossy while the protected interior stays defined for days.
How to get it: After your wash-and-go (leave-in, cream, gel on soaking-wet hair, diffused dry), gather curls loosely at the very crown with a satin scrunchie — loose is the point; a tight band dents the pattern. Sleep in a satin bonnet over the pineapple. In the morning, shake gently at the roots and smooth canopy halo frizz with a tiny amount of cream on your palms.
Best for: 3C to 4C curls and coils; medium to long lengths with enough hair to gather high. Shorter curls can do a half-pineapple with the top section only.
Maintenance: Very low. Thirty seconds at night, one minute in the morning; mist-refresh on day three or four. Wash every 7–10 days.
Pro tip: Never pineapple with a regular elastic — the tension dents the curl pattern and causes breakage over a season. A satin scrunchie is non-negotiable, and for the morning canopy smoothing our editors reach for SheaMoisture Manuka Honey & Mafura Oil Leave-In Milk: light enough not to weigh down the refresh, rich enough to actually seal.
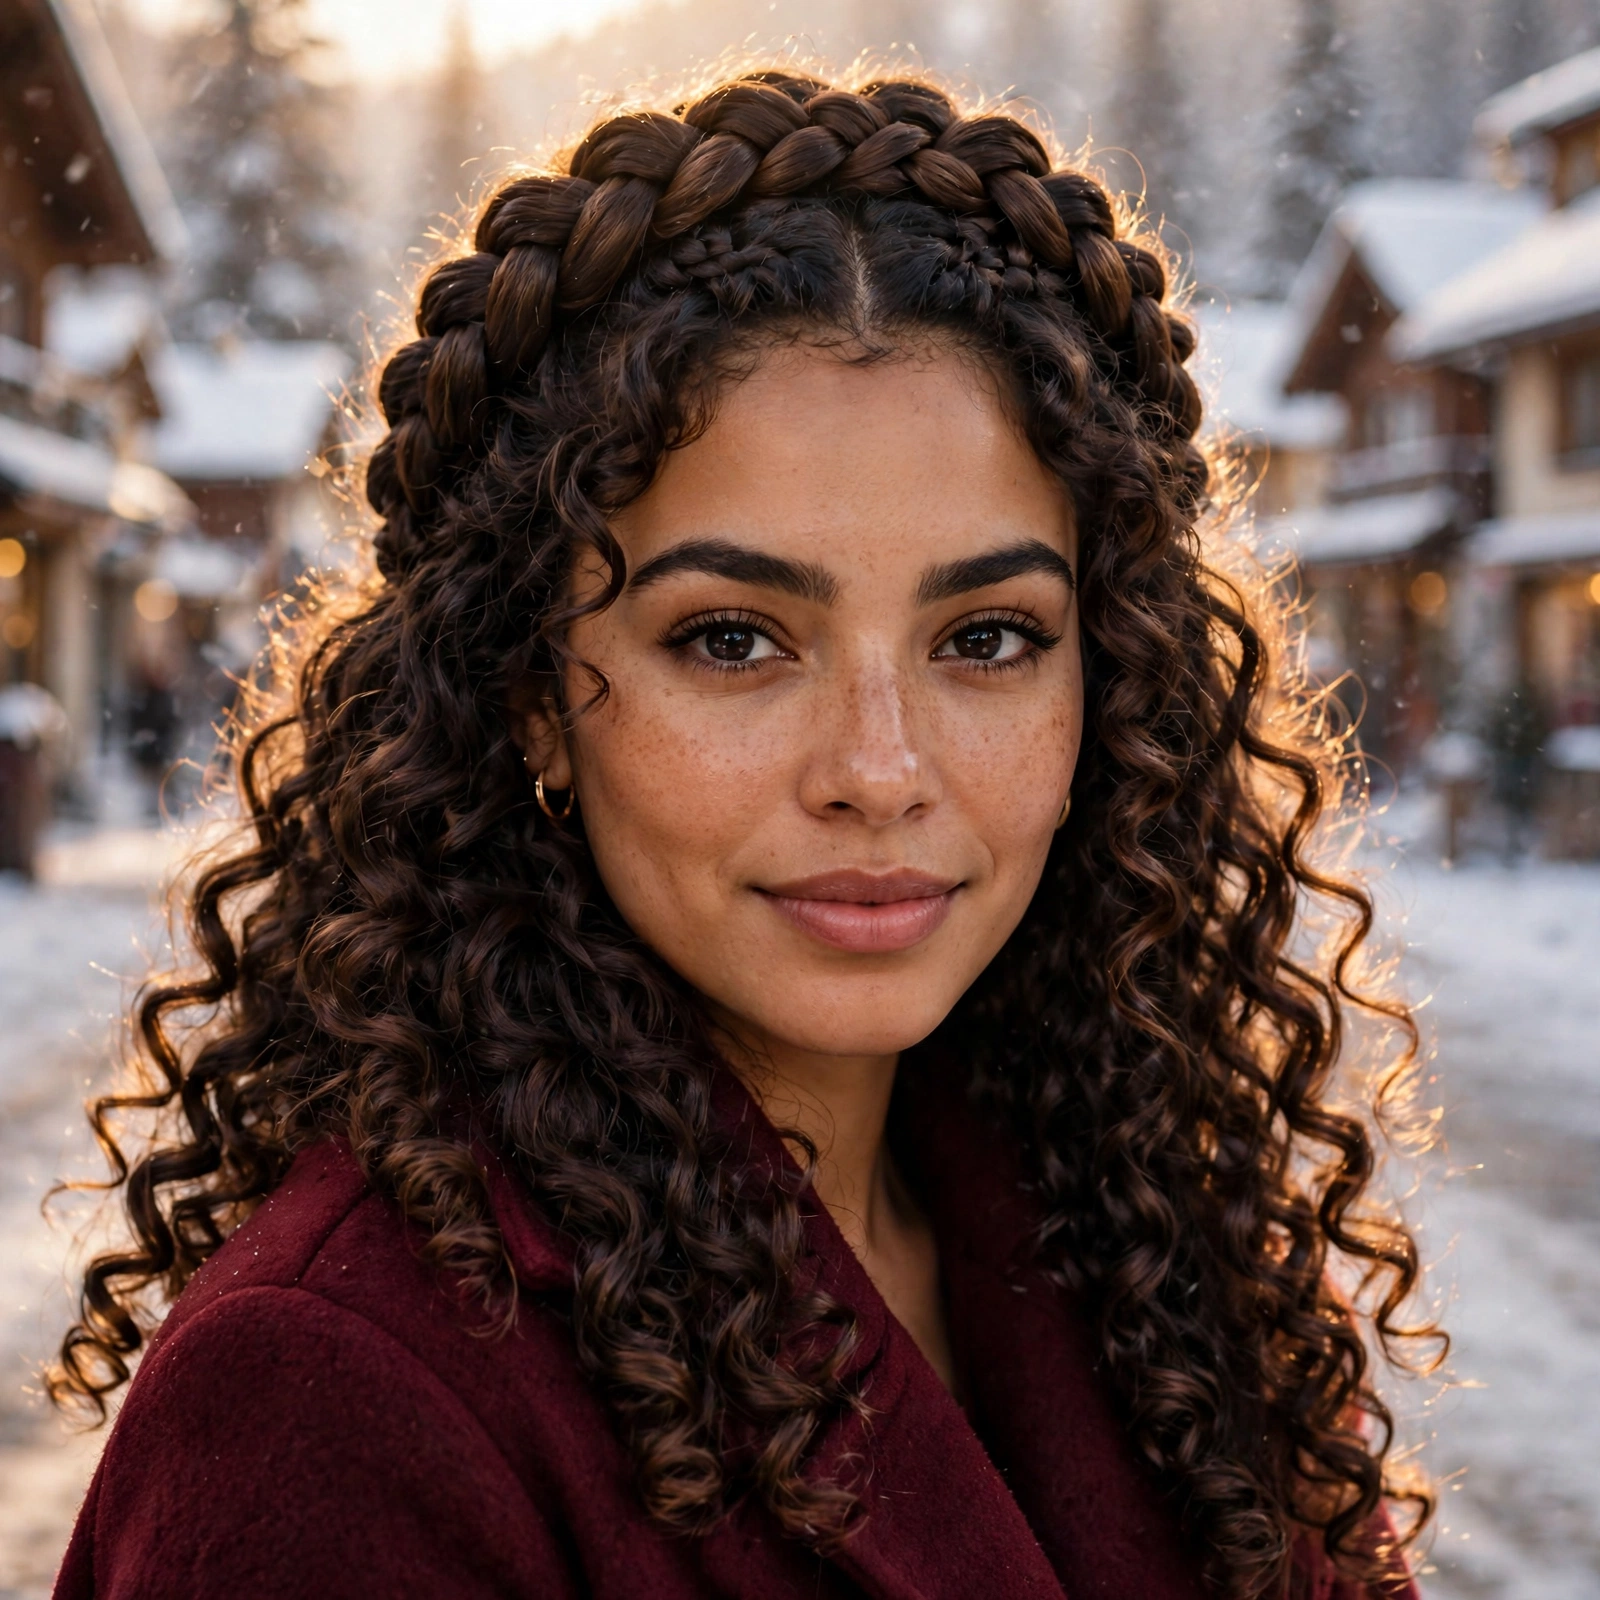
2. Milkmaid Curl Crown
Two Dutch braids wrapped up and over the head, pinned into a crown — the milkmaid braid is winter armor disguised as romance. Wind literally cannot reach curls braided flat to the scalp. It works beautifully on second- and third-day curls (the texture gives the braids grip), sits perfectly under beanies and hoods, and when you take it down in the evening you get heatless waves as a bonus. The vibe is storybook winter — holiday markets, snowy walks, festive dinners — with genuinely protective function underneath.
How to get it: On damp or day-two hair with a little leave-in for slip, create a center part and Dutch-braid (underhand, so the braid sits raised) each side from the temple down past the ear. Cross the braids up and over the crown in opposite directions, tuck the ends under, and pin with U-pins. Gently pancake the braids for fullness once pinned.
Best for: 2C to 3C curls and waves; medium to long lengths (you need enough braid to wrap). Thicker densities get the fullest crown.
Maintenance: Low. Fifteen minutes to braid; lasts one to two days, and sleeping in it gives soft waves.
Pro tip: Braid on hair that’s about 80% dry rather than soaking wet — wet curls stretch, then shrink as they dry and loosen the crown by evening. Before you start, work a dime-sized amount of DevaCurl Light Defining Gel through the lengths: it gives the braids grip without crunch and keeps flyaways sealed all day.
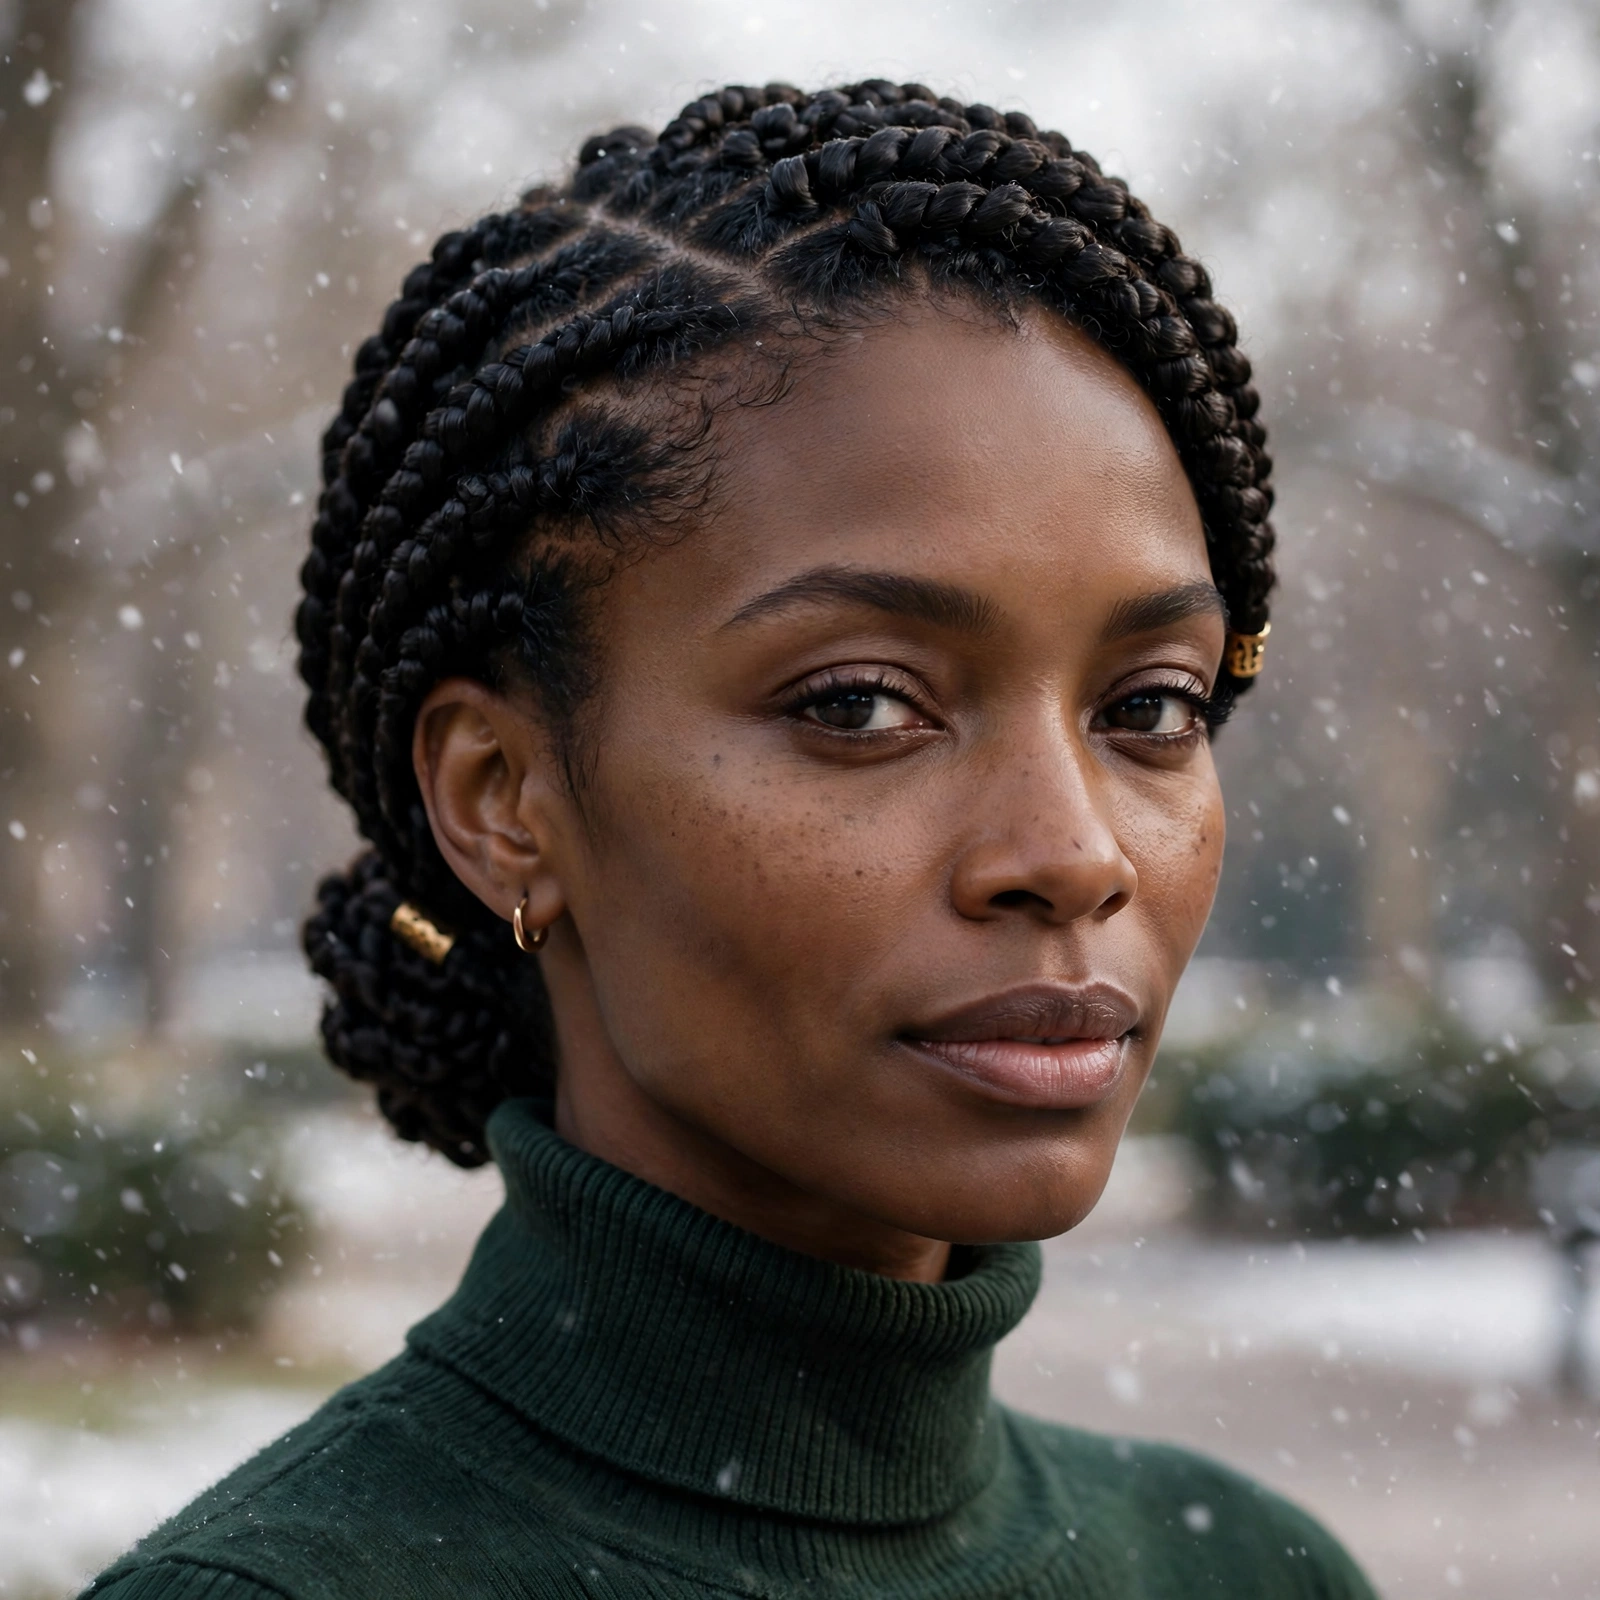
3. Halo Twist Protective Updo
Flat twists swept back and coiled into a low updo at the nape — the halo twist is the maximum-protection style on this list, and our editors’ pick for the coldest weeks of the season. Every end is tucked away from dry air, wind, wool collars, and hat friction, so moisture loss slows to a crawl and length is preserved through winter. Yet it reads elegant, not utilitarian: the twisted texture catches light beautifully, and dressed up with a gold cuff or two it goes straight to holiday parties. It emerged from four days of testing with definition still intact — nothing else on the list did that.
How to get it: On stretched hair with leave-in and a butter or cream for pliability, flat-twist the front and sides back toward the crown. Gather everything at the nape, two-strand-twist the remaining length, and coil it into a low bun, pinning securely. Tuck and pin every end — exposed ends defeat the purpose.
Best for: 4A to 4C coils; medium to long lengths. Also excellent for transitioning hair that needs a break from manipulation.
Maintenance: Low daily. About an hour to install; then one to two weeks with a nightly bonnet and a light oil mist every few days.
Pro tip: The make-or-break detail is twisting on properly moisturized, slightly damp hair — dry twists look frizzy by day two no matter what you do. Our editors prep with Cantu Shea Butter Leave-In Conditioning Repair Cream: rich enough to keep twists supple for the full two-week wear, and a little goes a very long way.
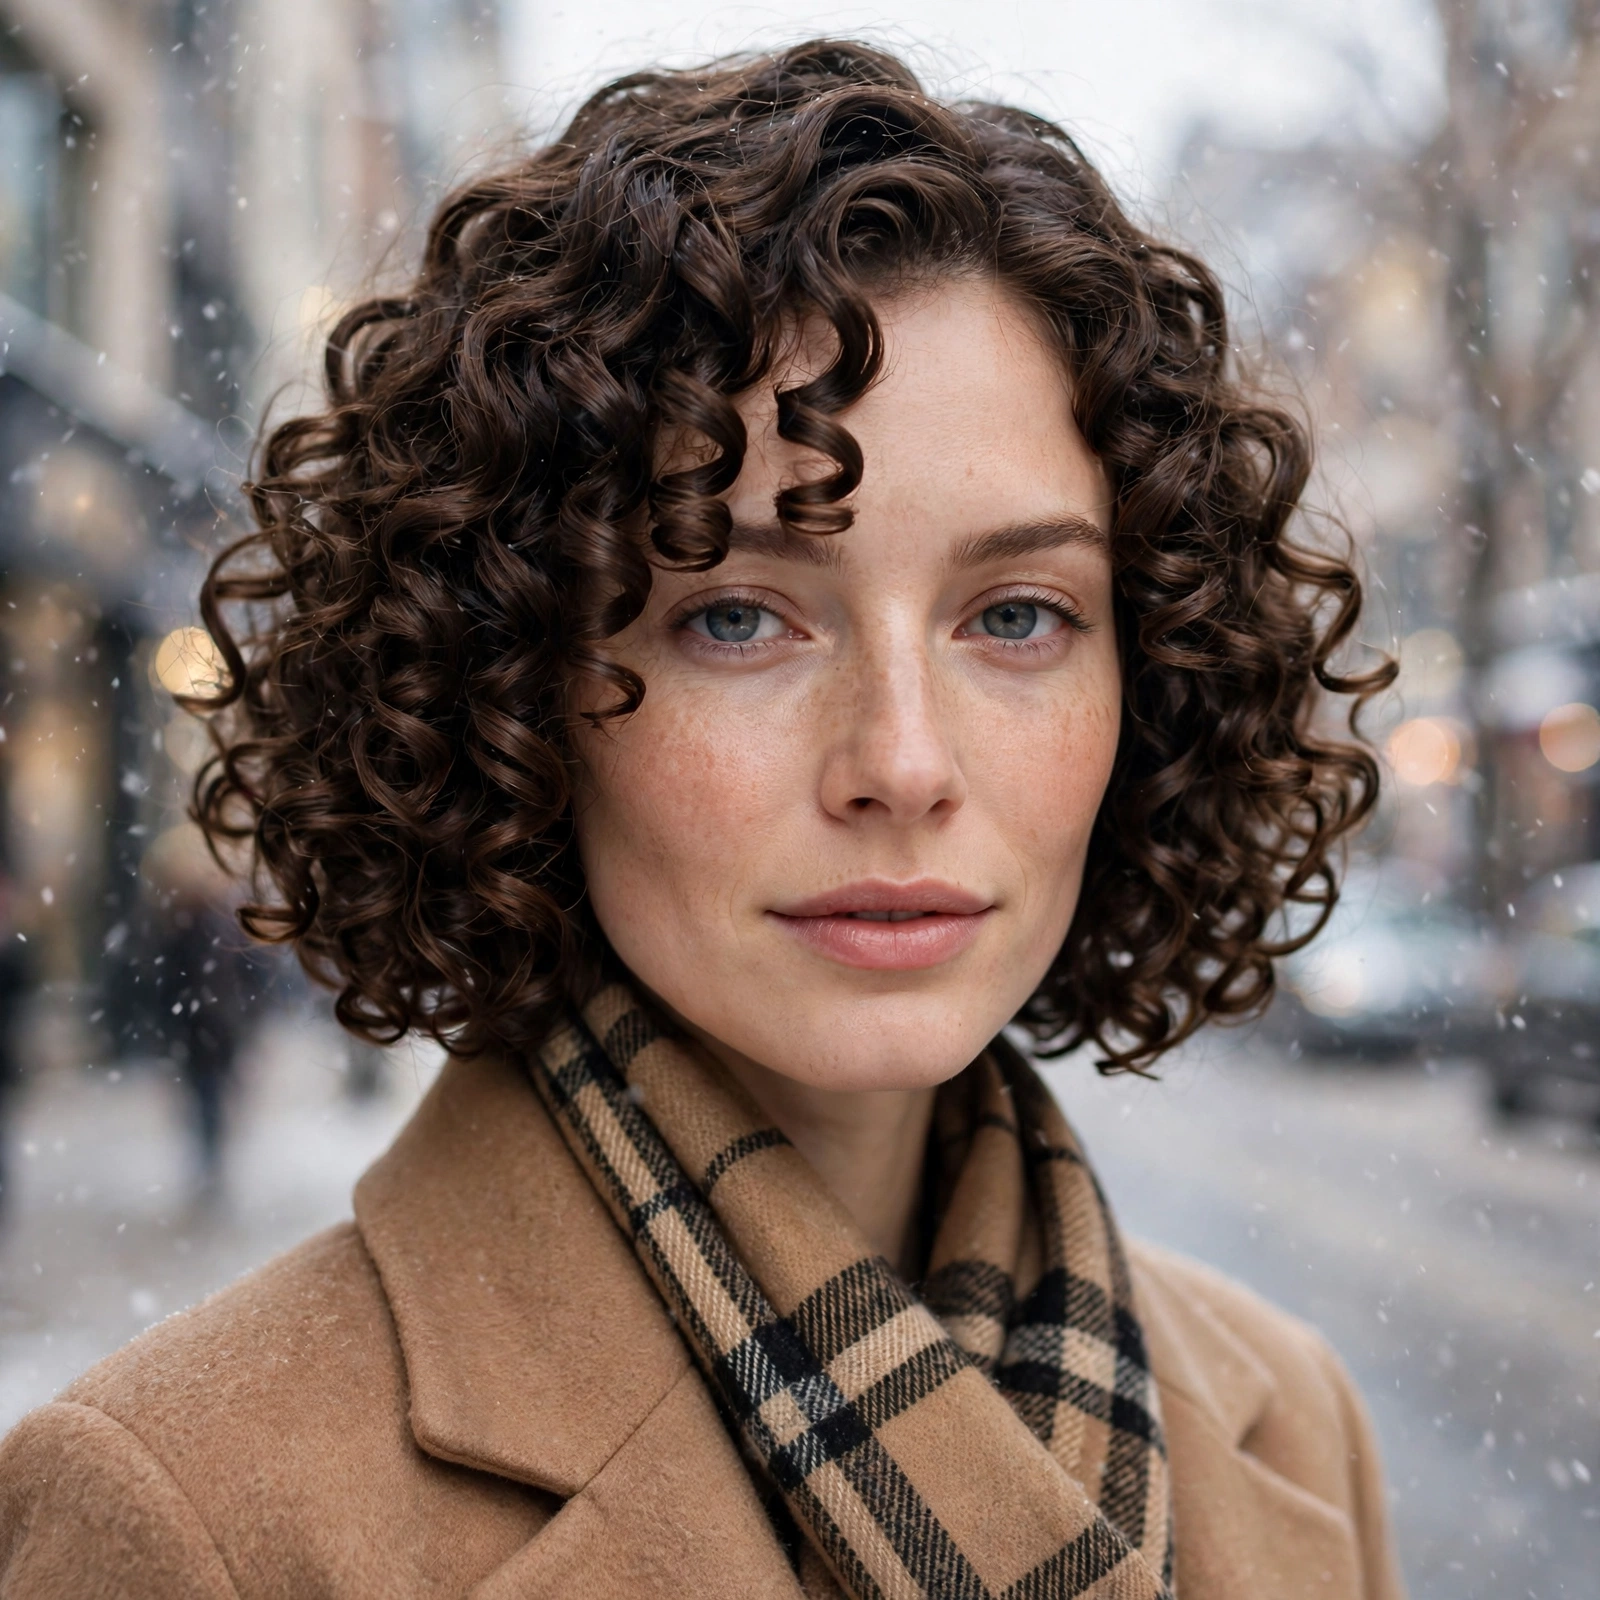
4. Snow-Kissed Ringlet Bob
A chin-to-shoulder bob cut specifically for curls — dry-cut, with strong internal layering — is the lowest-moisture-loss haircut a curly girl can get for winter. Shorter lengths mean less hair exposed to dry air, and product distributes evenly instead of pooling at the roots and starving the ends. The “snow-kissed” finish is about definition: well-layered ringlets spring into perfect spirals that pop out from under a beanie looking intentional, never crushed. It’s the ultimate winter wash-and-go cut, and it grows out into a gorgeous lob by spring.
How to get it: Ask your stylist for a dry curly cut (cutting dry shows the true spring and shape), chin-to-shoulder length, with internal layers to remove bulk and encourage ringlet formation — bring photos of the exact curl shape you want. At home, style with leave-in and strong-hold gel using the rake-and-shake method, then diffuse with the cup pointed upward for root lift.
Best for: 3A to 3C curls; oval, heart, and round faces (the volume at the sides balances longer faces — ask your stylist to customize). Medium-density hair gets the fullest ringlet effect.
Maintenance: Low. Ten minutes on wash day; two-minute refreshes. Trims every 10–12 weeks — curly bobs lose their shape fast as they grow.
Pro tip: Never let anyone cut this wet and “even it out” — wet cutting on curls is how you get a triangle. For the ringlet definition that makes this cut famous, our editors swear by Aussie Instant Freeze Sculpting Gel: strong enough to keep ringlets separated through a windy commute, and it scrunches out soft with zero crunch.
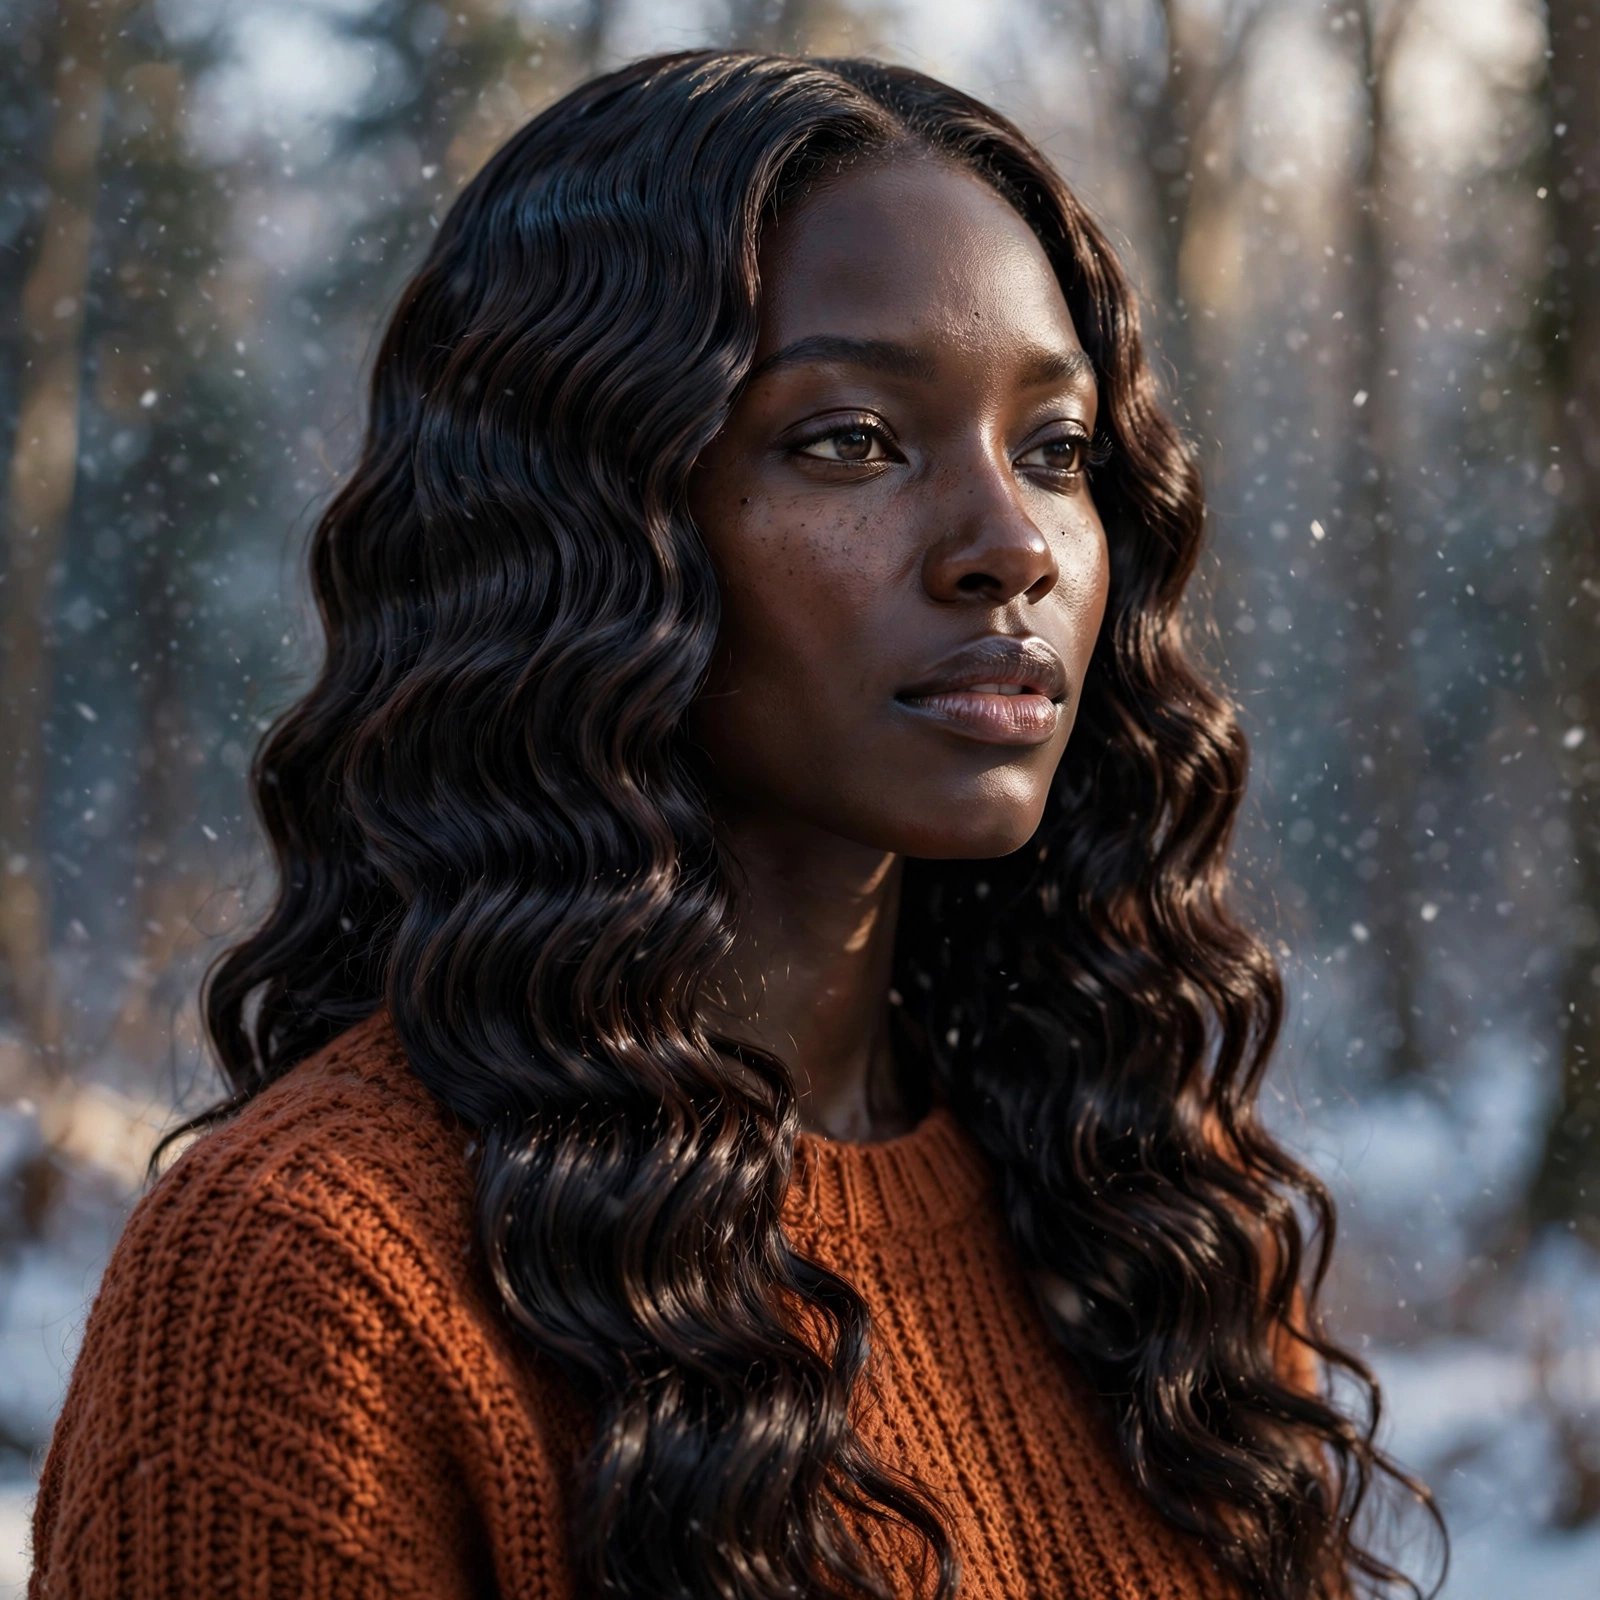
5. Gingerbread Braid-Out
A braid-out — hair braided while damp, then unraveled into stretched, defined waves — is winter’s answer for coilies who want length and definition without heat. Our editors love it for cold months because the stretched texture resists single-strand knots (a real winter hazard when dry coils tangle), shows off impressive length, and holds its shape for days under hats and scarves. The “gingerbread” finish: a rich, glossy sheen on every wave that reads healthy even under flat winter light. More work than a wash-and-go on install night, but the multi-day payoff is enormous.
How to get it: On freshly washed, fully moisturized hair (leave-in plus cream, section by section), create 8–12 medium two-strand twists or three-strand braids, smoothing each to the ends. Let them dry completely — overnight is ideal. Unravel gently with oiled fingers, separate each braid only once or twice (over-separating creates frizz), and fluff the roots for volume.
Best for: 4A to 4B coils; medium to long lengths. High-density hair gets the fullest, most dramatic results.
Maintenance: Medium. Forty-five minutes on wash night; then three to five days of wear with nightly pineapple-ing. Mist the front pieces as needed.
Pro tip: The number-one braid-out killer is unraveling too early — even slightly damp braids unravel into frizz, not waves. If the ends feel cool to the touch, they’re not done. For the unravel step, our editors use a drop of Kinky-Curly Curling Custard on their fingertips: it smooths each wave as you separate and extends the style a full extra day.
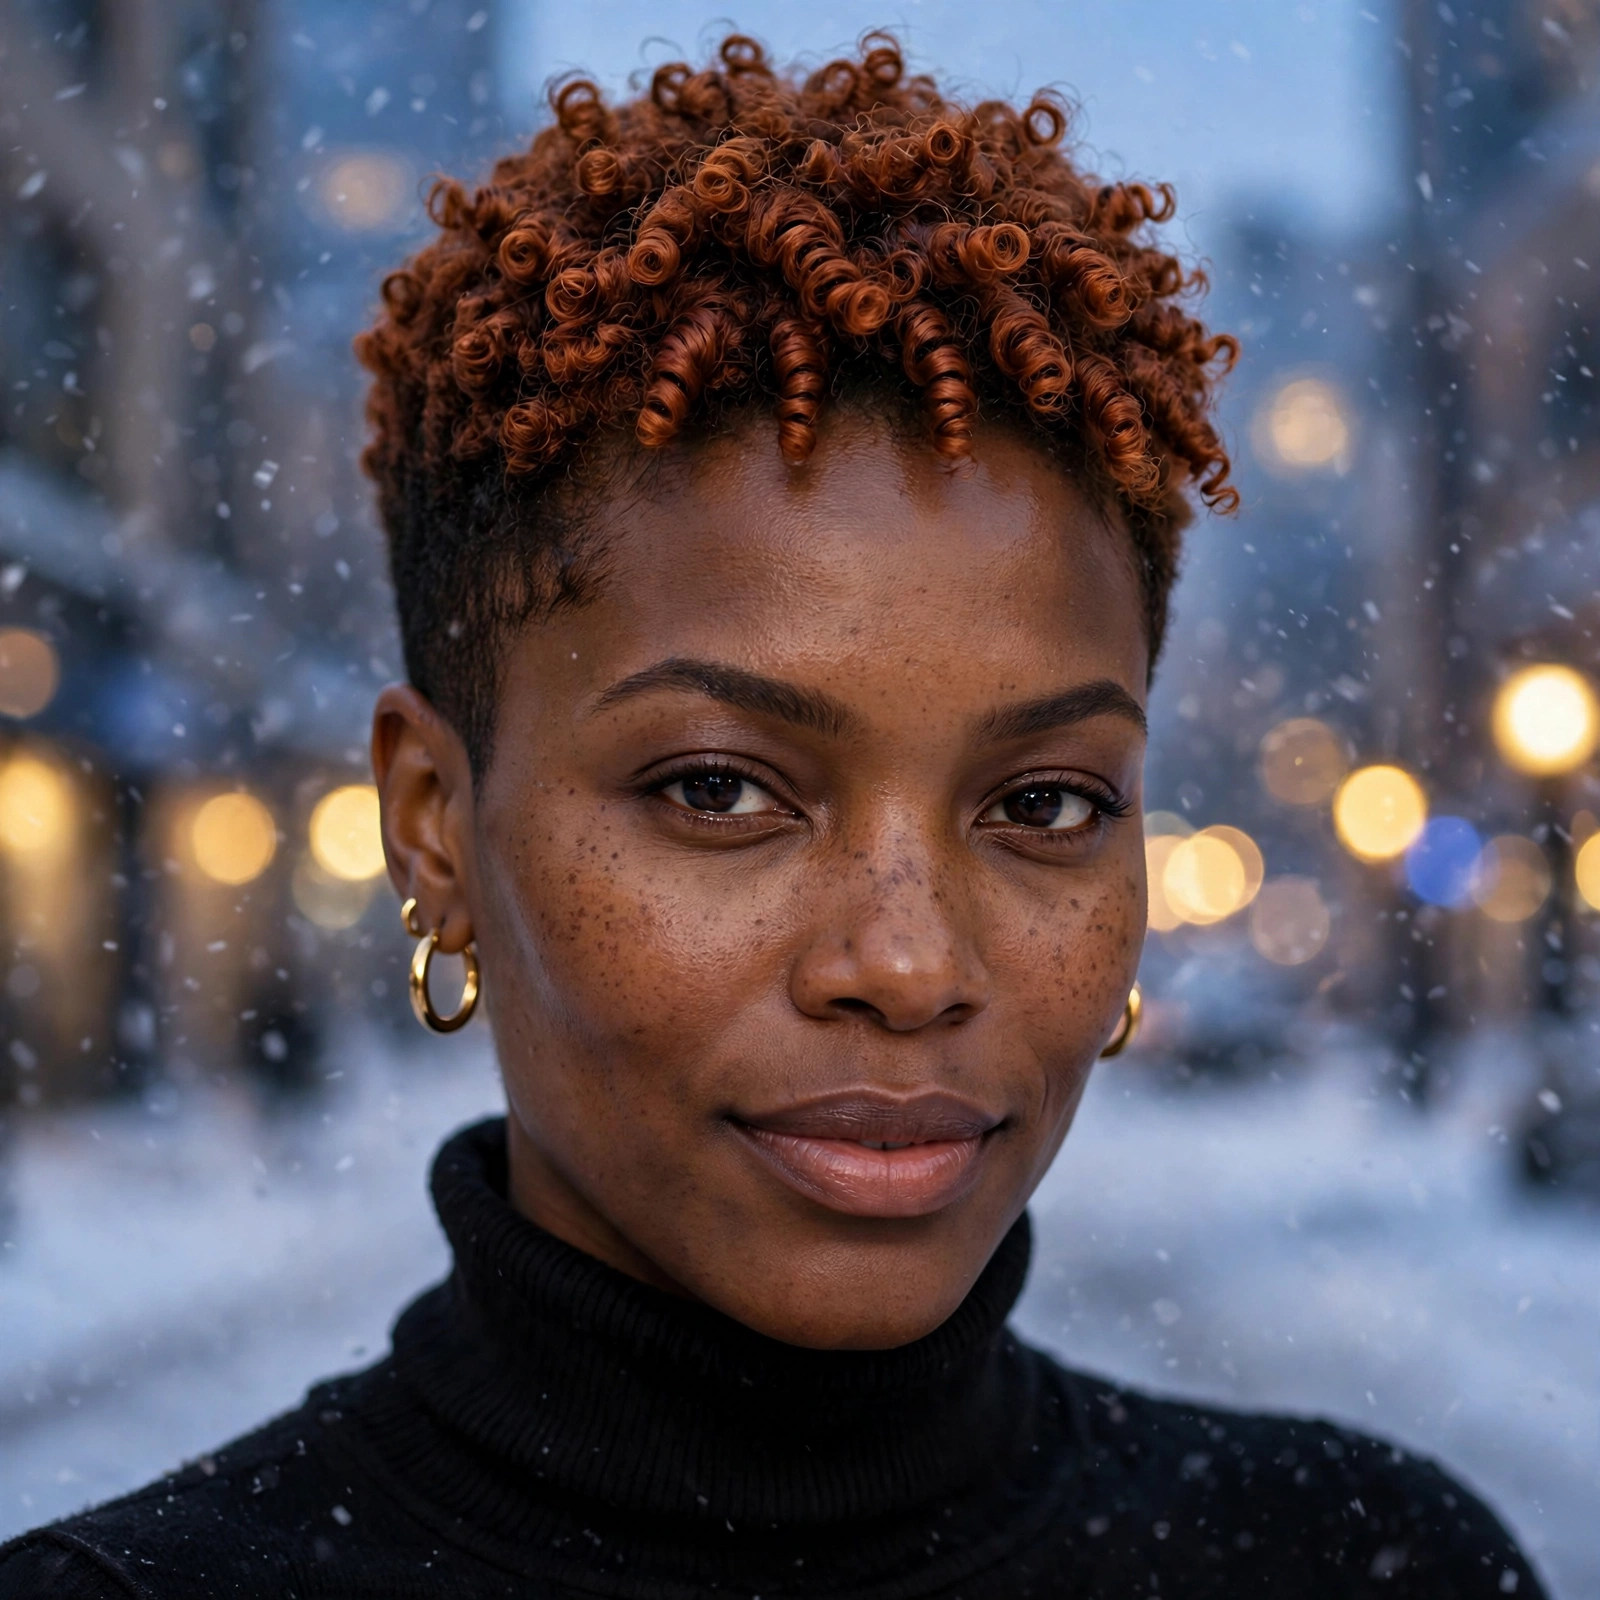
6. Mulled-Wine Coil Pixie
A short, tapered coil pixie — close on the sides, length and texture on top — is the boldest low-maintenance move on this list, and winter is its best season. Short coils need less product, dry in minutes, and sit perfectly under every hat, hood, and scarf. The “mulled-wine” name is for the color story this cut begs for: a rich auburn, copper, or burgundy gloss that glows against winter skin and chunky knits. It’s wash-and-go in its purest form — and the grow-out is a cute tapered fro, not an awkward phase.
How to get it: Ask your barber or stylist for a tapered cut — faded or closely tapered sides and back, with two to three inches of length on top to coil freely. Bring reference photos; “pixie” means wildly different things on coily hair. At home, apply leave-in and curl-defining cream to damp hair, then finger-coil the top section for definition.
Best for: 4B to 4C coils; oval, heart, and diamond faces especially (the height on top elongates). Anyone ready to commit to short hair and frequent trims.
Maintenance: Low daily. Five minutes each morning; trims every 4–6 weeks to keep the taper sharp.
Pro tip: Sleep in a satin bonnet or on a satin pillowcase without exception — short coils show friction frizz faster than any other length. For the top’s definition, our editors use As I Am DoubleButter Cream: rich enough to define tight coils with real moisture, and the sheen it gives dark hair is unreal in winter light.
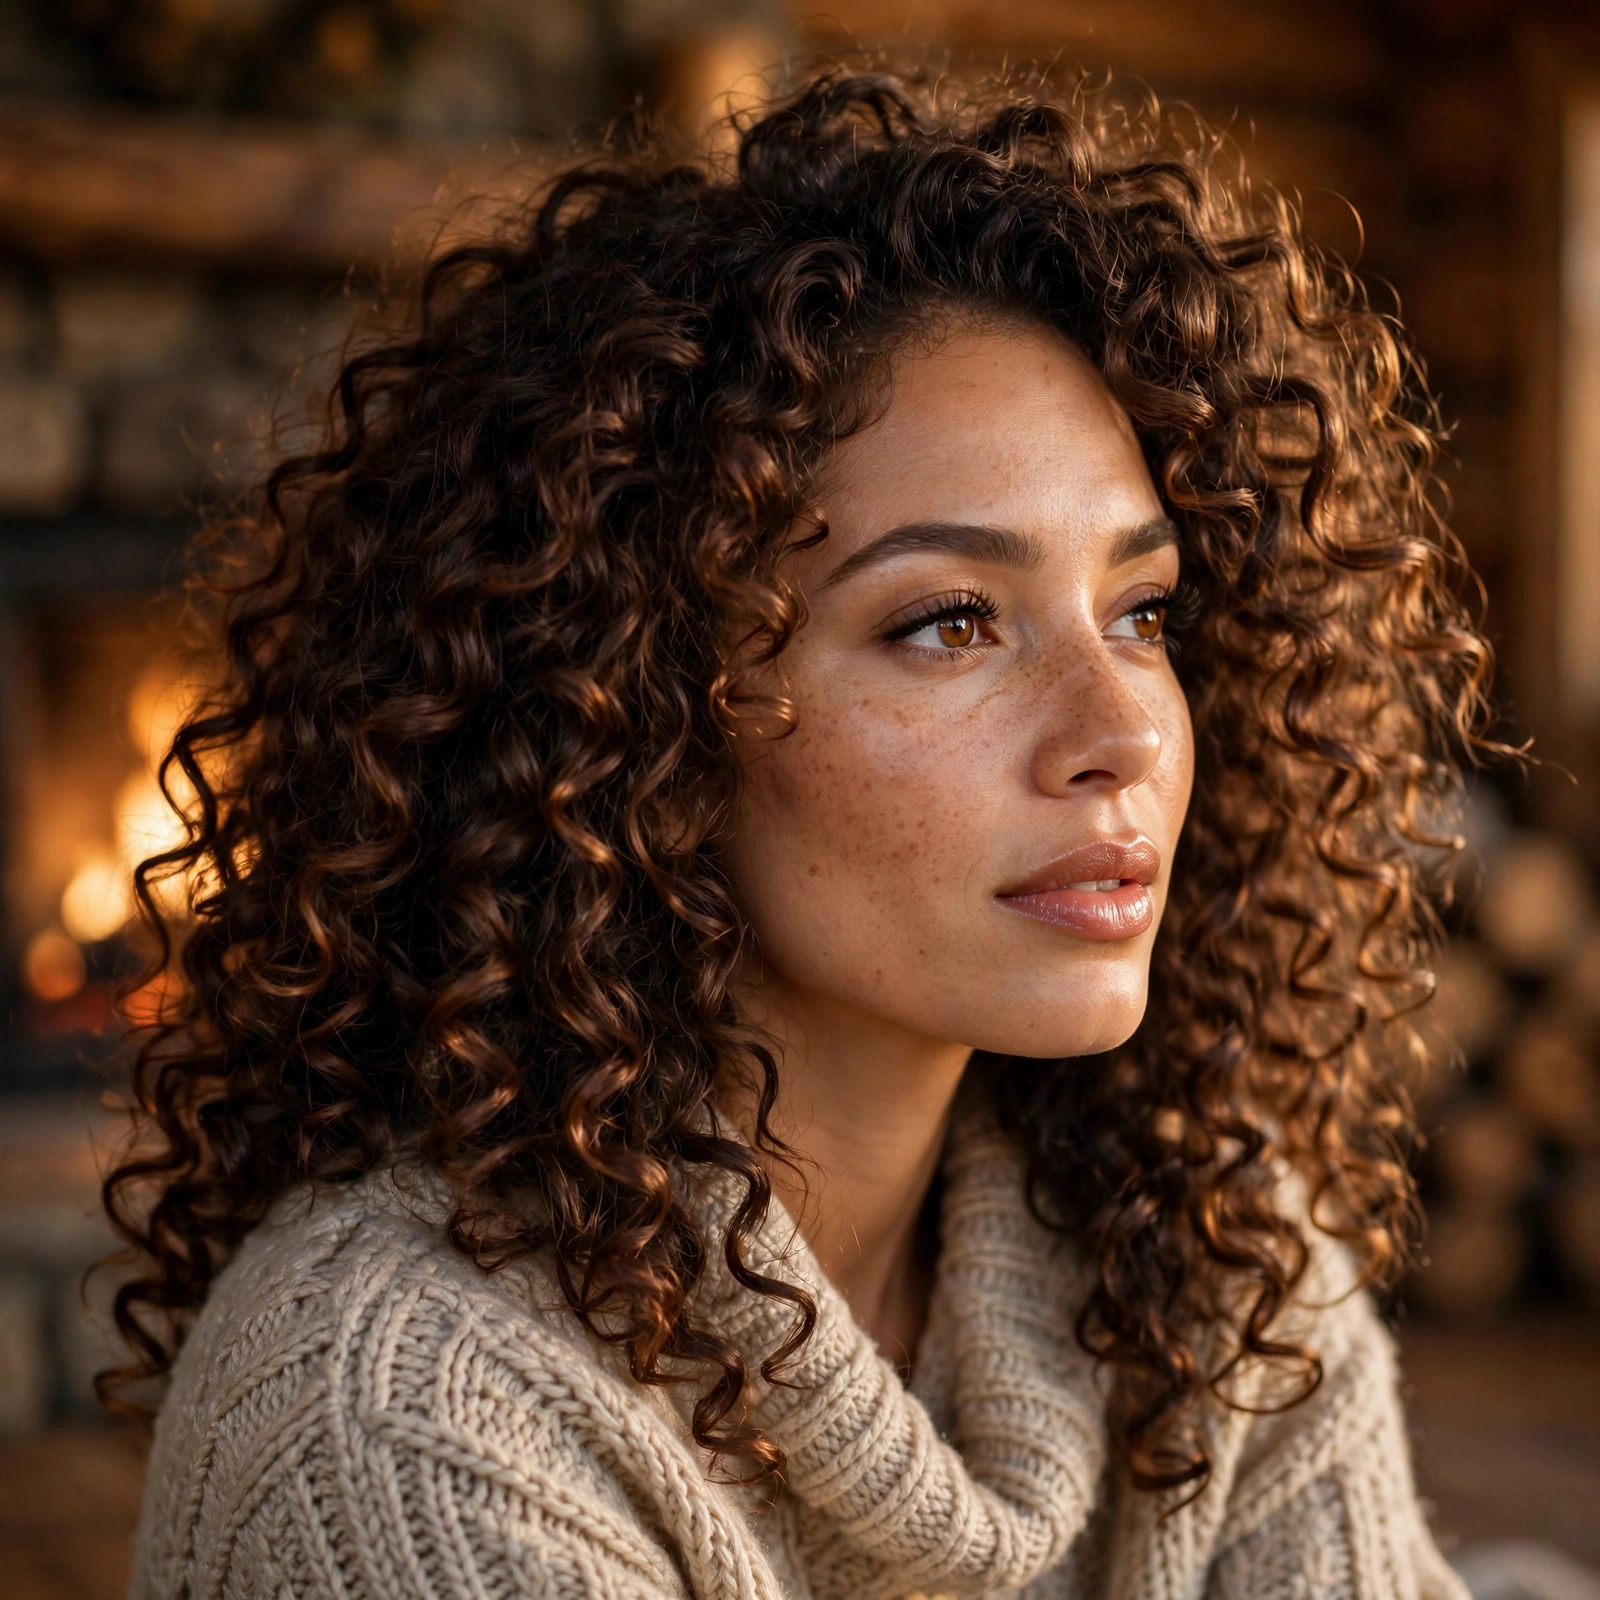
7. Fireside Diffuse-and-Go
The classic wash-and-go, winter-optimized: styled on soaking-wet hair, then fully diffused instead of air-dried — because our editors confirmed that air-drying in a cold house is one of the biggest frizz triggers there is. The “fireside” finish is warm, touchable definition with real root volume: diffusing with the cup pointed upward lifts roots while lengths set quickly, before dry air can roughen the cuticle. It’s the most honest style on this list — just your curls at their best — and for 3B–3C textures it’s often the prettiest thing you’ll wear all season.
How to get it: On soaking-wet hair, apply leave-in, then cream, then a hard-hold gel, scrunching each layer upward to encourage clumping. Micro-plop with a cotton T-shirt for five minutes. Diffuse on low heat, medium speed: cup sections from the ends up, hold ten seconds each, and don’t touch the curls until they’re 100% dry. Scrunch out the gel cast with a drop of oil on your palms.
Best for: 3A to 3C curls; medium to long lengths. High-density hair holds the volume best; fine curls should use lighter product layers.
Maintenance: Low. Twenty minutes on wash day; two-minute refreshes extend it three to four days. Pineapple and bonnet at night.
Pro tip: The hover-diffuse is the secret weapon for the canopy — hold the diffuser a few inches above your roots without touching, which sets the top smooth without disturbing clumps. Our editors layer Briogeo Curl Charisma Leave-In Defining Crème under their gel: the definition it builds at the leave-in stage means you need less gel overall.
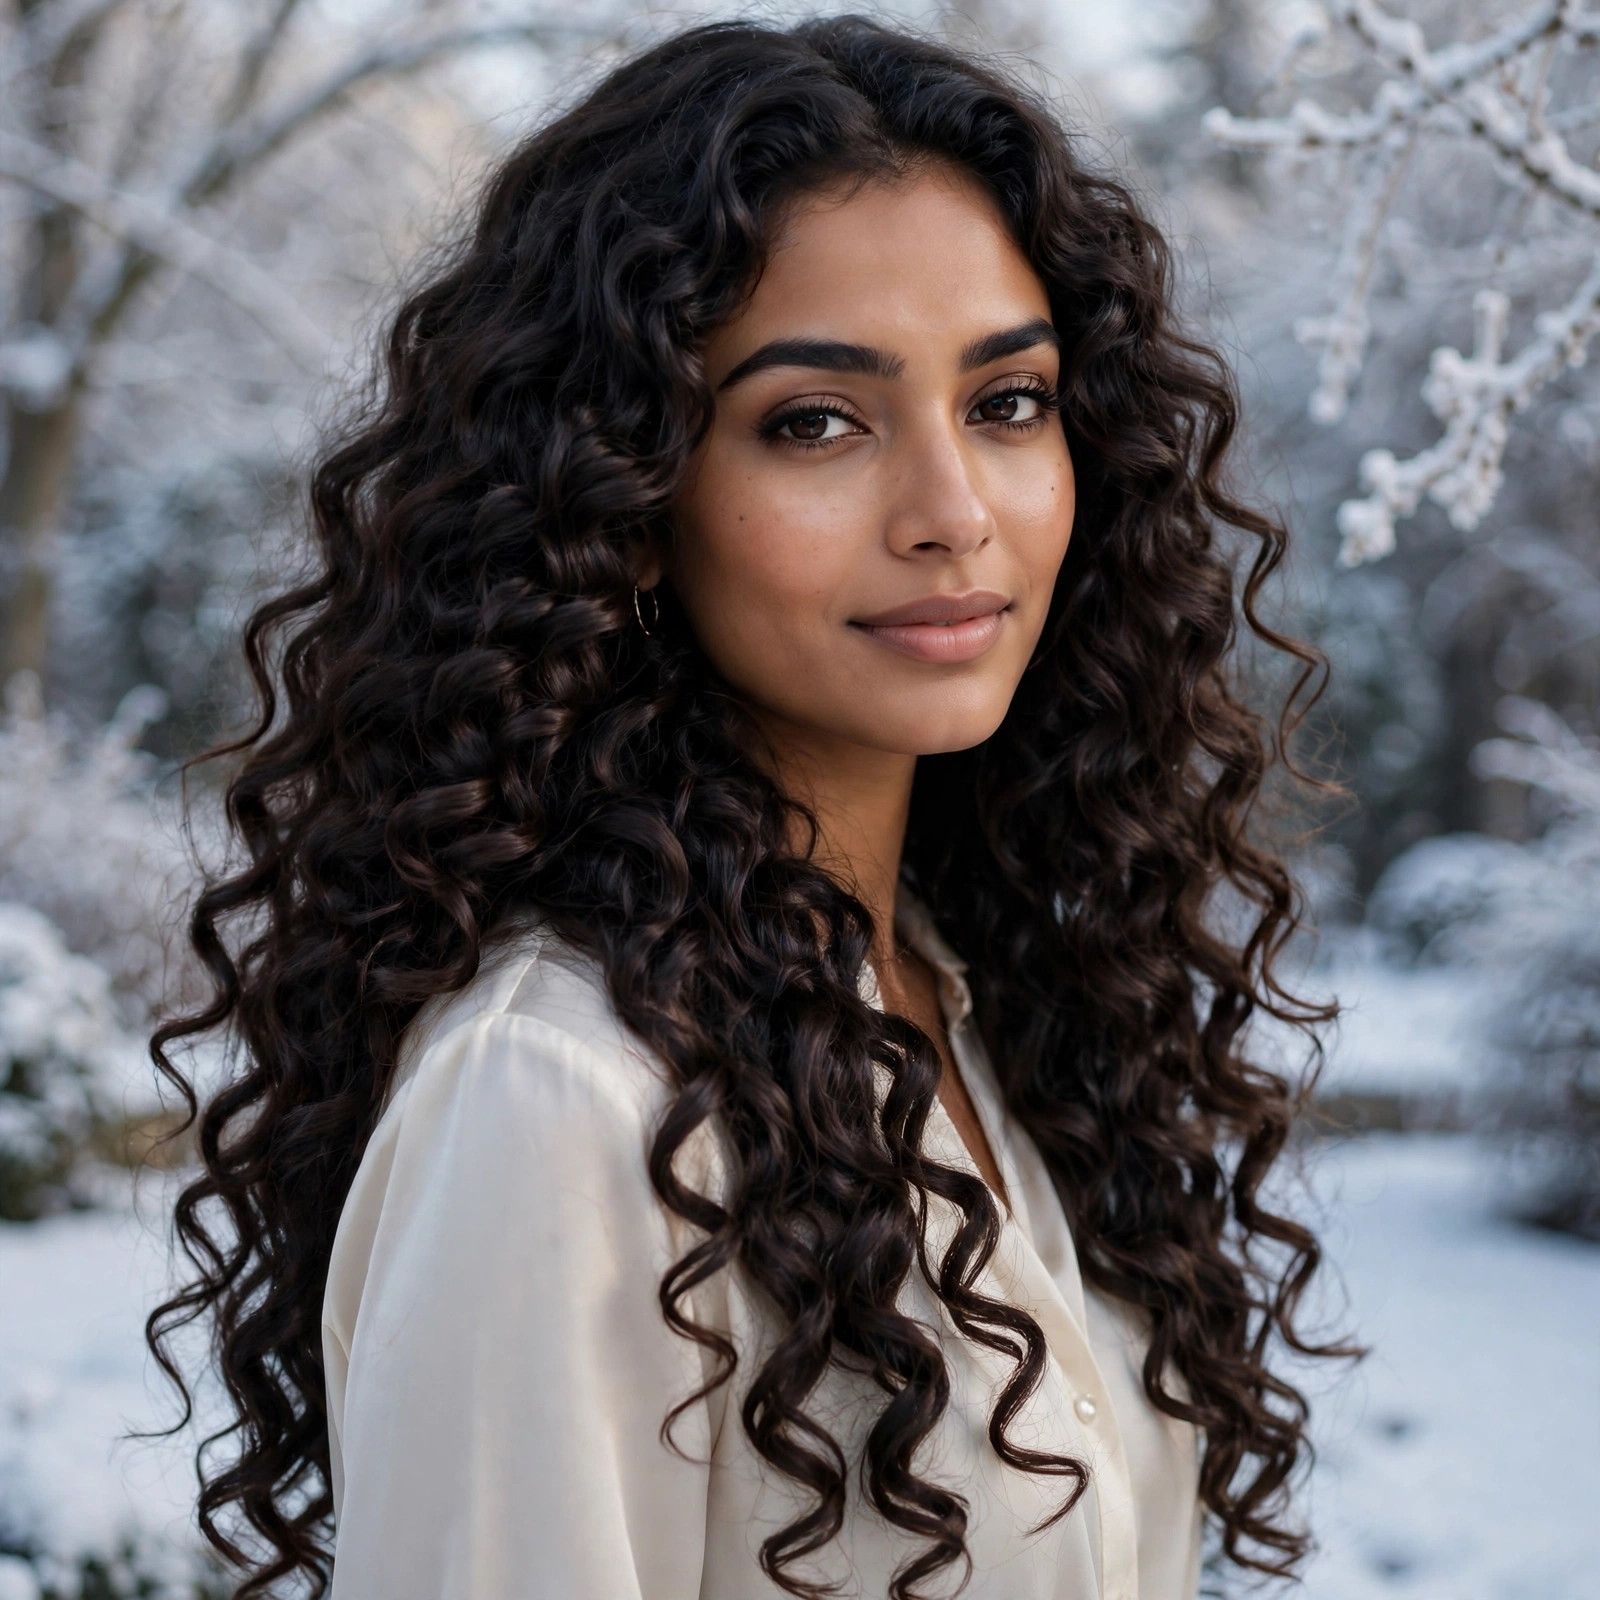
8. Silk-Wrap Curl Cascade
Long, defined curls worn loose — but protected by the silk-scarf wrap method that makes long winter curls actually sustainable. Blunt finding: long curls worn fully loose in winter dry out faster than any other configuration here, because maximum hair meets maximum dry air. The silk-wrap cascade solves it without hiding the length: wrap the hair in a silk scarf at night (smoothing curls around the head), which preserves definition and moisture while you sleep, then unwrap to a glossy cascade each morning. All the drama of loose curls, none of the day-three straw.
How to get it: Style your wash-and-go with full LOC layering and diffuse dry. At night, flip your head forward, smooth the curls around your head in one direction with your palms, and wrap a large silk scarf snugly over the smoothed hair, tying at the side. In the morning, unwrap, flip back, shake at the roots, and smooth the canopy with a tiny amount of cream.
Best for: 3A to 3C curls; long lengths (bra-strap and beyond) get the most benefit. Works on 2C waves with lighter products.
Maintenance: Low. Five minutes to wrap at night, two to unwrap in the morning. Lasts four to five days between washes.
Pro tip: The scarf must be real silk or high-quality satin — cotton scarves wick moisture out overnight and undo the entire point. For the morning canopy smoothing, our editors use a single pump of Moroccanoil Curl Defining Cream: it melts into surface frizz without disturbing the clumps underneath, and the shine lasts until the next wash.
9. Northstar Half-Up Crown
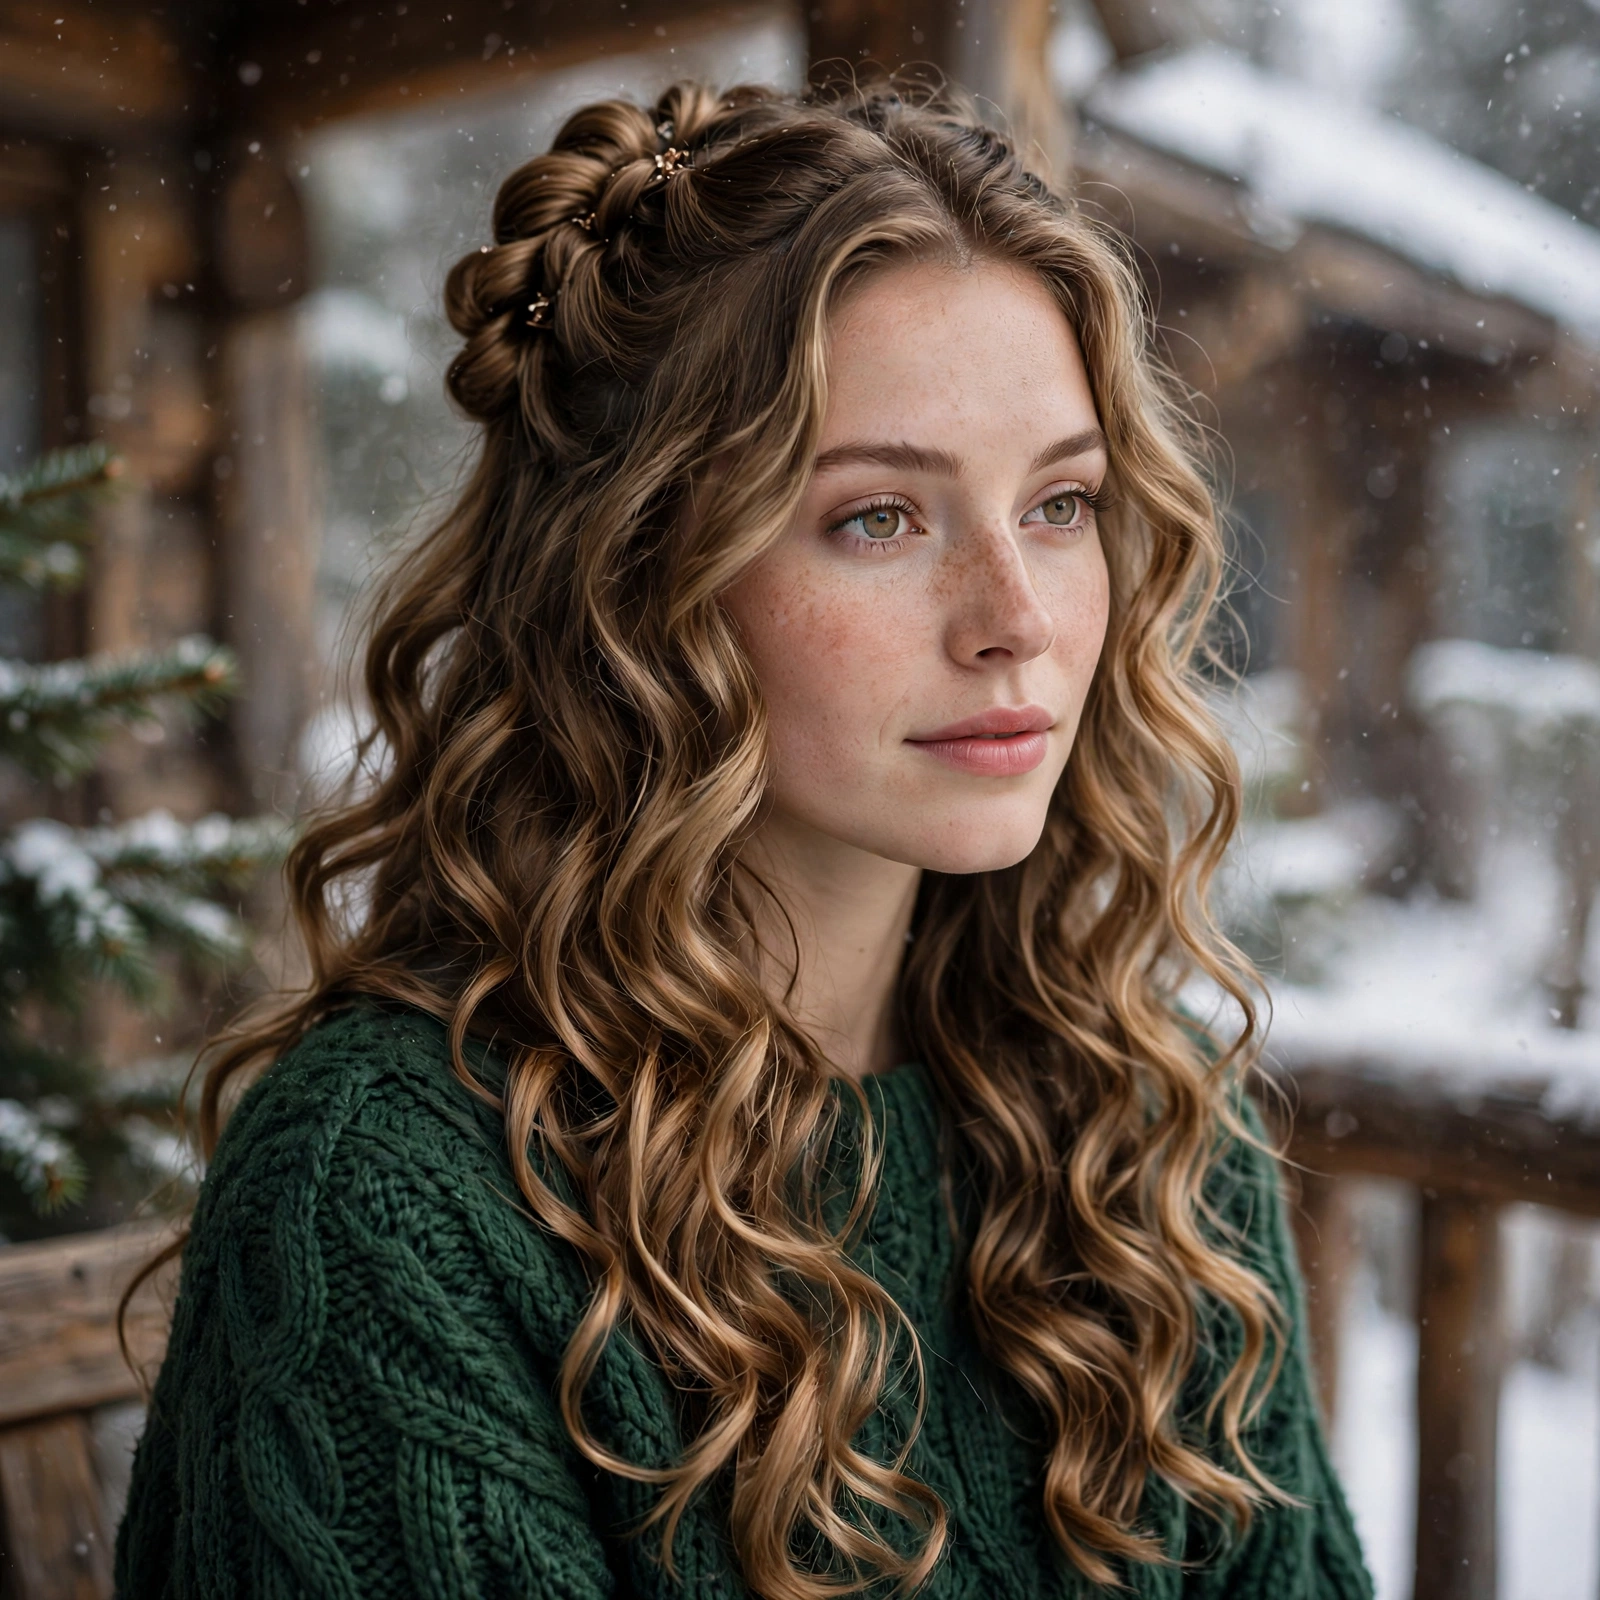
A half-up style where the top section is twisted or braided back into a small crown, leaving the rest of the curls free — the winter-perfect compromise between fully loose and fully up. Our editors love it for wavy-curly textures because it keeps the front pieces off your face and out of scarf-and-collar friction (the exact zone where winter frizz starts), while the loose lengths still get their moment. It takes five minutes, works on day-two hair, and the little crown detail photographs beautifully at holiday gatherings.
How to get it: Take a two-inch section from each temple, twist each one back toward the crown (or make two small Dutch braids for extra hold), cross them over each other, and pin where they meet with U-pins. Let the remaining curls fall freely. Refresh the loose lengths with a water-and-leave-in mist and a scrunch before you start.
Best for: 2B to 3B waves and curls; medium to long lengths. Round and oval faces benefit most from the crown lift.
Maintenance: Very low. Under five minutes, no heat, works on unwashed hair.
Pro tip: Backcomb the crown lightly before pinning the twists — that hidden lift is what separates a flat half-up from a gorgeous one. For flyaway control around the crown that survives a full day under a hood, our editors smooth a pea-sized amount of Ouidad Advanced Climate Control Heat & Humidity Gel along the part: it’s built for humidity swings, which makes it perfect for winter’s indoor-outdoor transitions too.
10. Winterberry Coil Shag
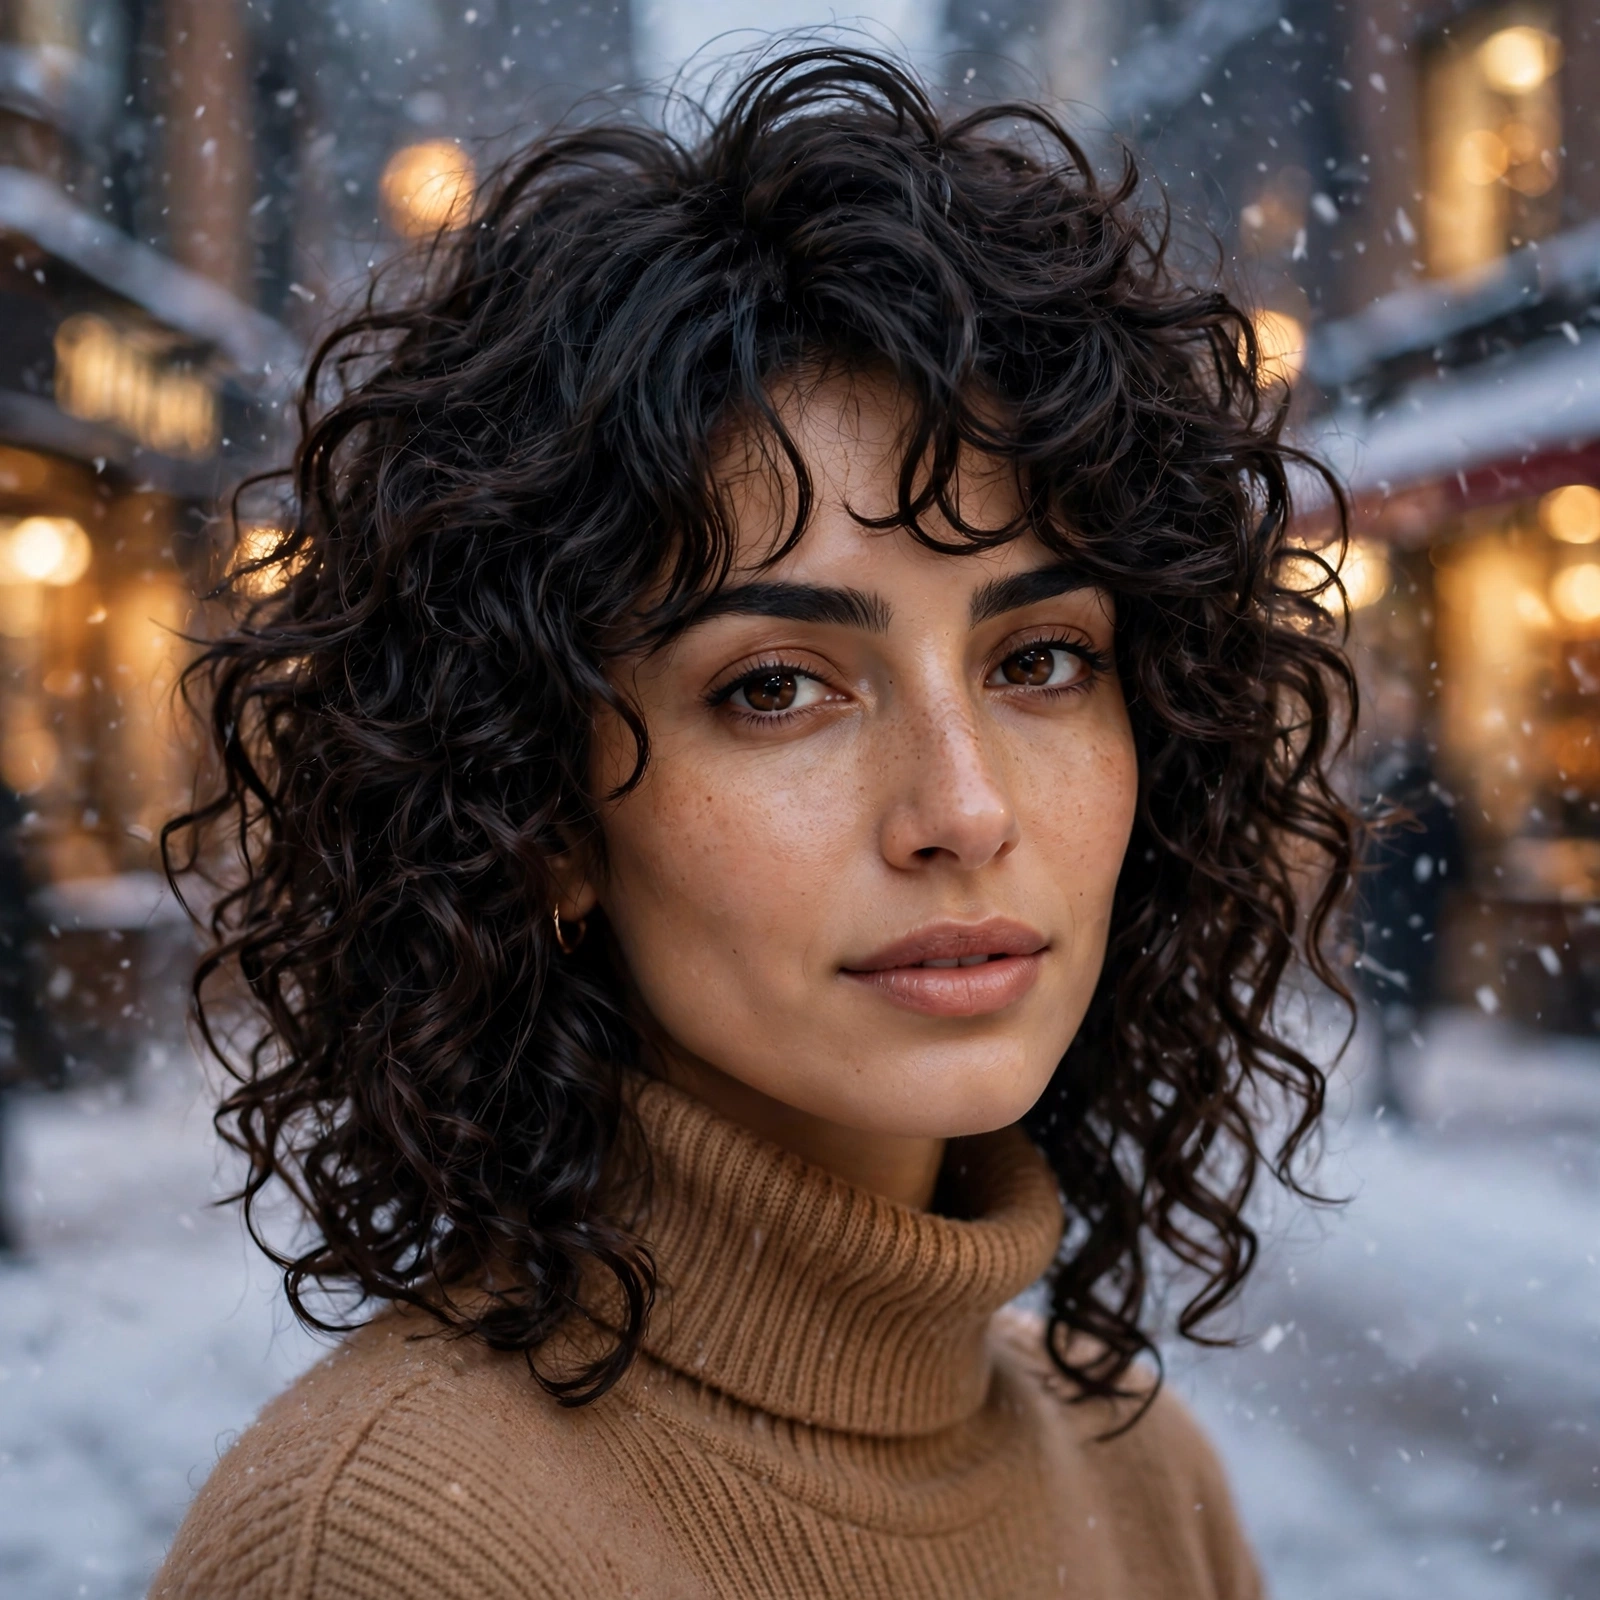
The curly shag — short, disconnected layers through the crown, longer textured ends, face-framing pieces — is the cool-girl winter cut for coils and tight curls. Our editors found the shag’s architecture does something magical on 3C–4A hair: the short crown layers spring into a halo of volume while the longer ends keep their length, creating shape that looks styled with almost no effort. In winter it distributes product and moisture more evenly than one-length hair, and the built-in texture survives beanies looking deliberately tousled rather than crushed.
How to get it: Ask your stylist for a curly shag: dry cut, shorter layers through the crown for volume, longer disconnected ends, face-framing pieces starting at the cheekbones. Bring photos — “shag” varies wildly. At home, apply leave-in and curl cream to damp hair, finger-coil the crown pieces for definition, and diffuse; the cut does the rest.
Best for: 3B to 4A curls and coils; oval and heart-shaped faces especially. Medium lengths; thick and medium densities get the full shag effect.
Maintenance: Low. Wash-and-go most days; trims every 10–12 weeks — shags grow out gracefully.
Pro tip: Never brush this cut dry — finger-detangle only, and only when wet with conditioner. A brush turns deliberate shag layers into one big triangle. For the curl cream that defines without weighing down crown volume, our editors use Camille Rose Curl Maker: the hold-to-moisture ratio is exactly right for shag layering.
11. Ember Glow Wash-and-Go
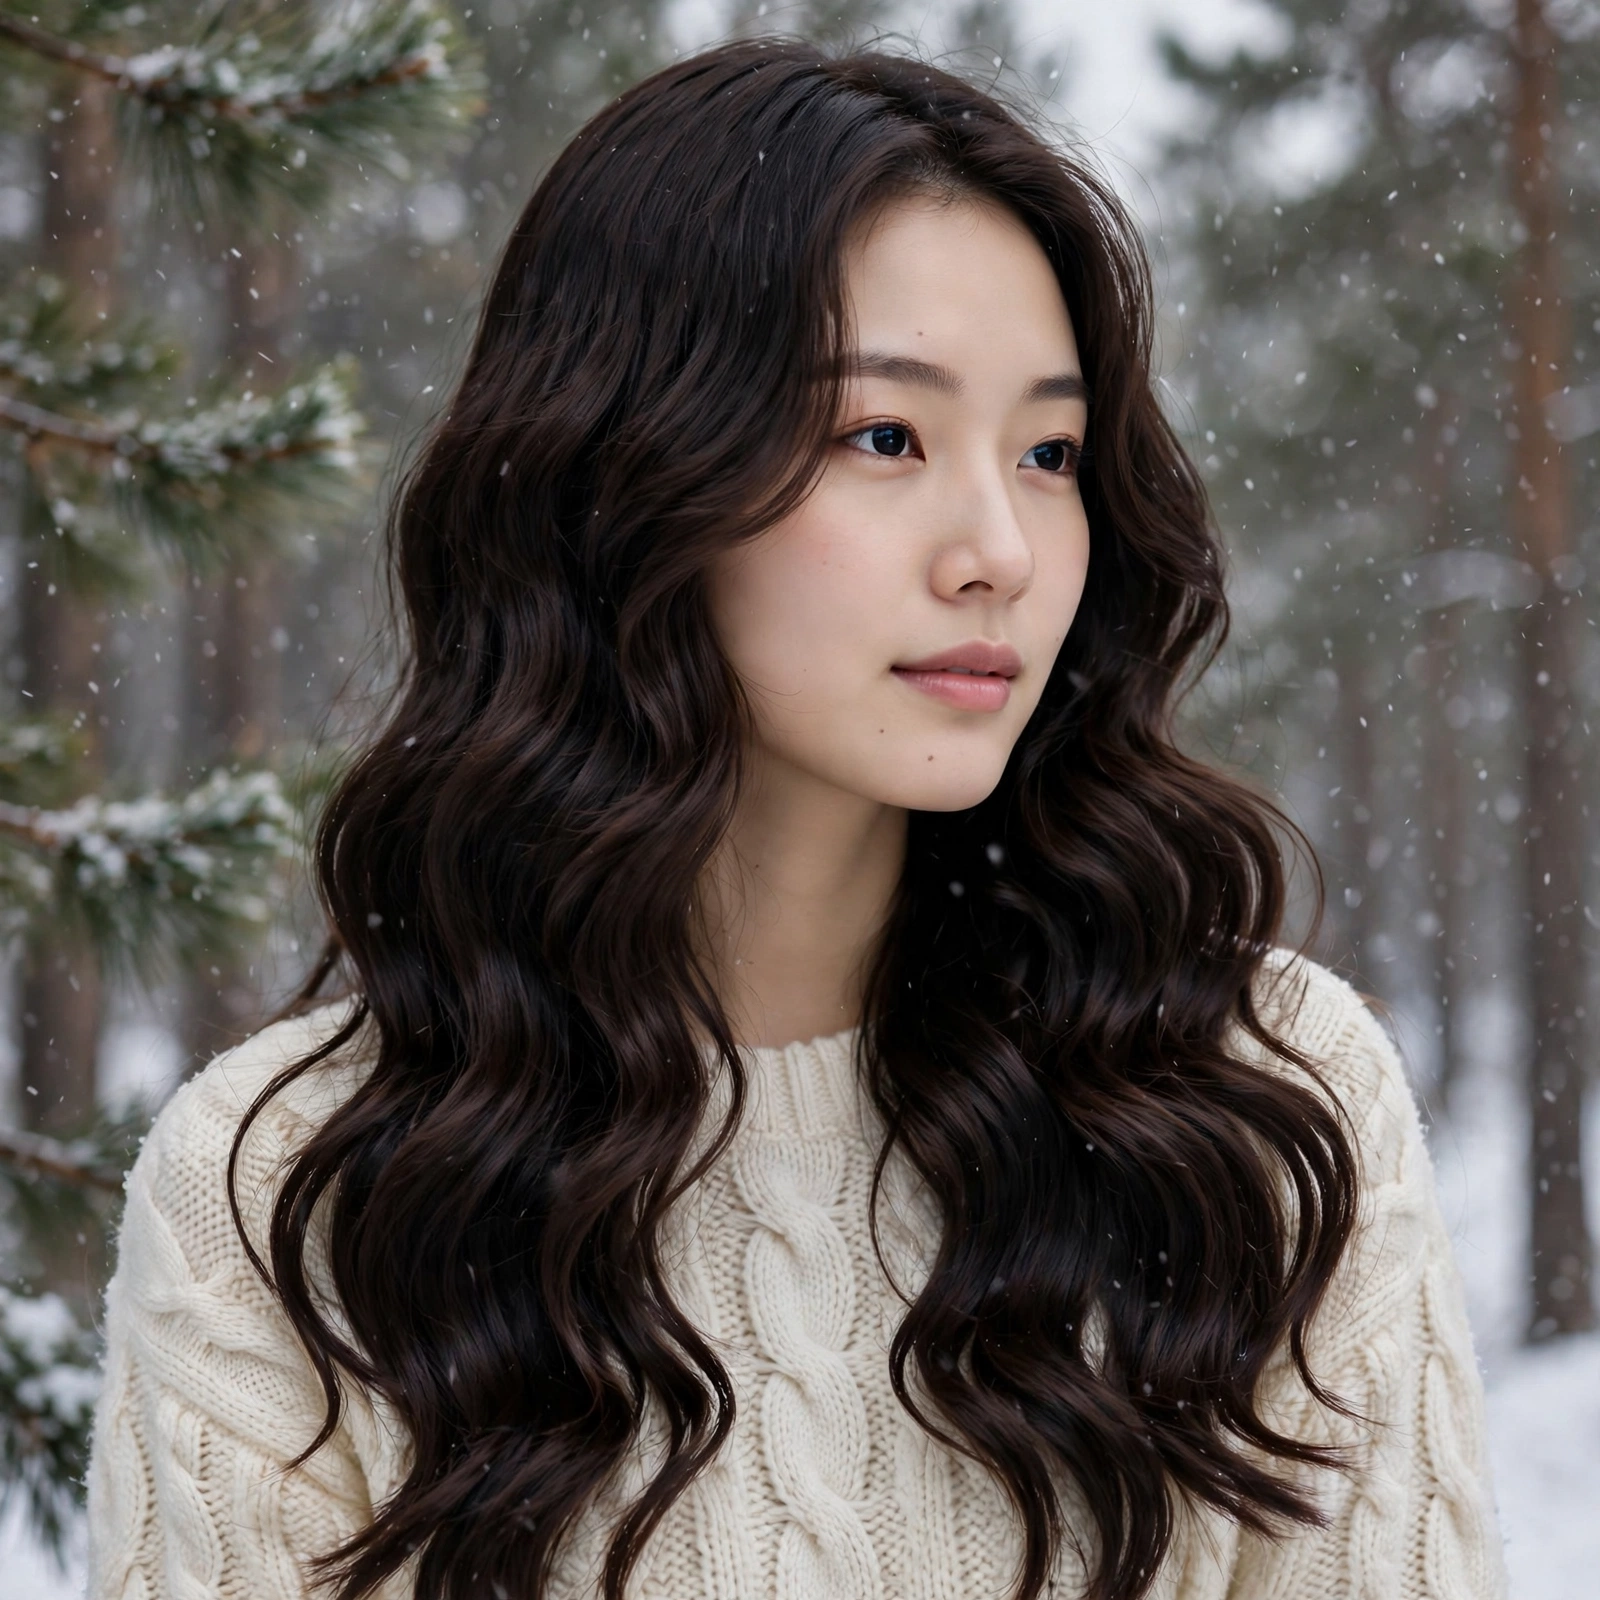
The wash-and-go for wavy-curly textures (2B–2C), winter edition — because everything heavy enough for coils pulls waves straight by noon. Our editors’ winter method for waves is lighter at every step: a lightweight leave-in instead of a butter, a foam or light gel instead of a heavy cream-gel stack, and diffusing to 100% dry (damp waves plus cold air equals instant frizz and zero definition). The “ember glow” is the finish: smooth, glossy S-waves with real shine, sealed with a single drop of lightweight oil once the cast is scrunched out.
How to get it: On soaking-wet hair, apply a lightweight leave-in, then a curl foam or light-hold gel, scrunching upward hard to encourage wave clumps. Micro-plop briefly, then diffuse on low heat until completely dry — waves must not air-dry in winter. Scrunch out any cast with one drop of lightweight oil on your palms, and don’t touch it after that.
Best for: 2A to 2C waves; fine to medium densities. The lightest routine on this list — perfect for waves that get weighed down easily.
Maintenance: Low. Fifteen minutes on wash day; mist-and-scrunch refreshes last two to three days. Sleep in a loose pineapple or bonnet.
Pro tip: If your waves fall flat by afternoon, the culprit is almost always product weight, not technique — drop the cream layer entirely and let the foam do the work. For the leave-in step, our editors use Aunt Jackie’s Quench Moisture Intensive Leave-In Conditioner: rich-feeling but light enough not to drag waves down, and the slip makes detangling painless.
12. Yuletide Space Puffs
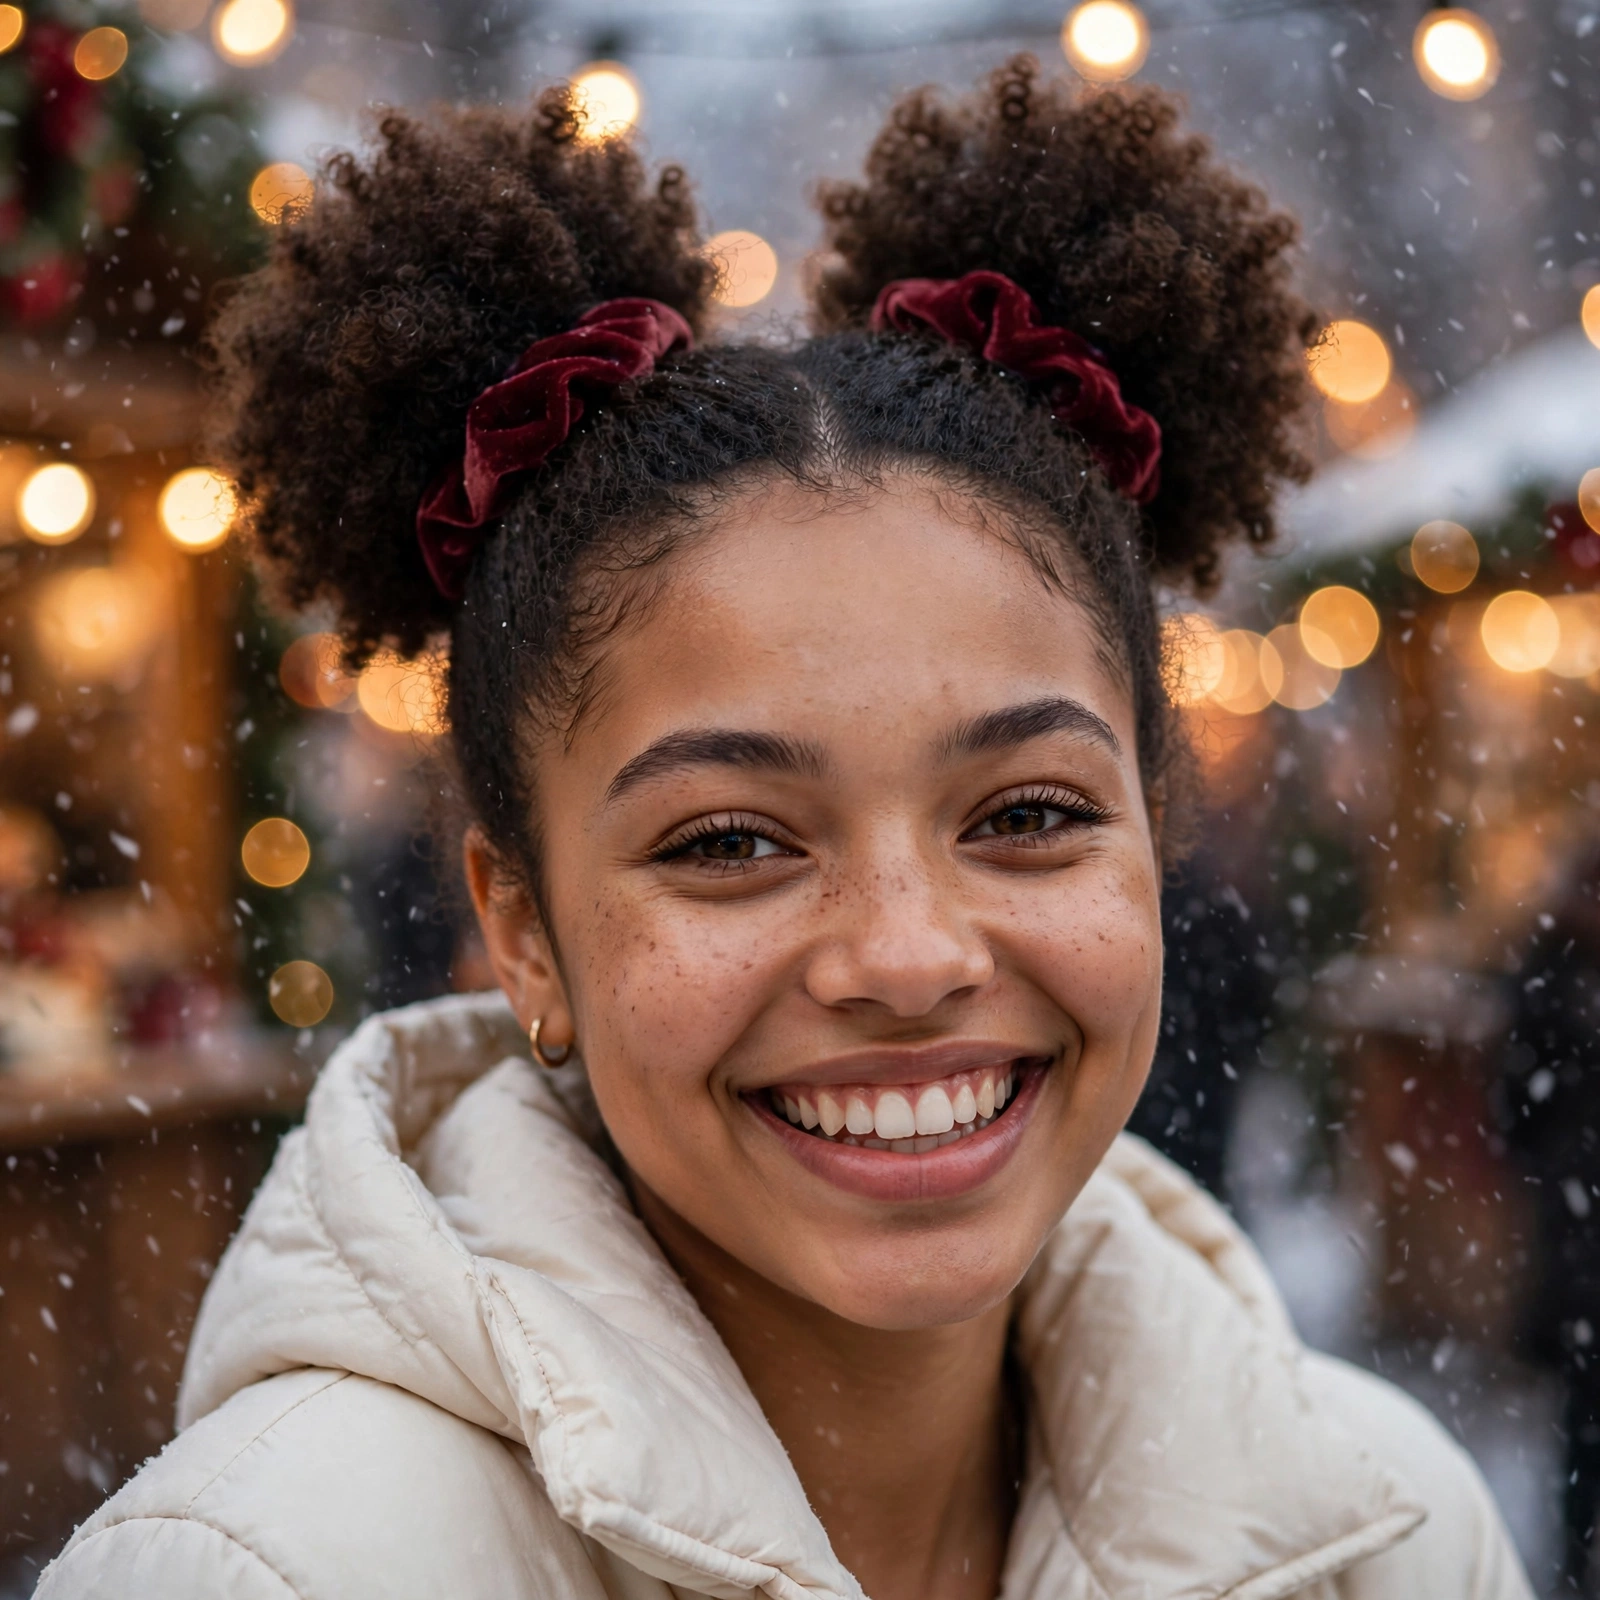
Two high puffs — playful, festive, and secretly one of the most protective styles on this list. Our editors added it for the holiday season because it’s genuinely fun (holiday parties, New Year’s Eve, winter festivals), but the function is real: each puff keeps the ends tucked and protected, it works on stretched or unstretched hair, and it survives hats, hoods, and dancing. On 4A–4C hair the puffs form perfect spheres of texture; accessorized with a velvet scrunchie, it’s the most festive hair on this list by a mile. Five minutes, zero heat, maximum joy.
How to get it: On moisturized hair (leave-in plus a little cream or gel for hold), create a center part and gather each half into a high puff at the crown’s sides with satin scrunchies — smooth the base with your palms and a touch of edge control, but leave the puffs themselves fluffy. Fluff each puff by gently picking at the roots for a perfectly round shape.
Best for: 3C to 4C curls and coils; medium to long lengths (you need enough hair for two full puffs). All face shapes — adjust puff placement to flatter yours.
Maintenance: Very low. Five minutes; lasts two to three days with a bonnet at night.
Pro tip: The base must be smooth but the band must be loose — a tight elastic at the puff base causes breakage exactly where your hair is most visible. Satin scrunchies only, doubled if needed for hold. For edge smoothing that stays crisp for days, our editors use a dab of Not Your Mother’s Curl Talk Defining Cream on the hairline: it tames flyaways without flaking in dry winter air.
Winter Curly Hairstyles for Women: FAQs
Why does my curly hair get so much frizzier in winter?
Cold outdoor air holds very little moisture, and heated indoor air is even drier — both pull water out of the hair shaft, lifting the cuticle and turning defined clumps into a frizz halo. Curly hair is hit hardest because its shape already slows the travel of natural scalp oils down the strand. The fix is the moisture-seal-protect sequence from this guide: hydrate on soaking-wet hair, seal with cream and a hard-hold gel, and choose styles (like the Halo Twist Updo #3 or the Milkmaid Crown #2) that keep ends out of the dry air. If frizz appeared suddenly and your routine hasn’t changed, also rule out buildup — clarify once, then rebuild the moisture layers.
Silk vs. cotton pillowcase — does it actually matter for curls?
Yes, and winter makes the difference bigger. Cotton is absorbent: it wicks moisture out of your hair all night and its rough fibers create friction that breaks up curl clumps. Silk (or good satin) is smooth and non-absorbent, so your definition and moisture survive until morning. Our editors’ ranking: a satin bonnet beats a silk pillowcase (it protects all sides, not just the side you sleep on), and silk beats cotton by a mile. If you buy one thing for your winter curl routine, make it the bonnet — it’s the cheapest frizz insurance there is. For more on what actually damages hair versus what’s myth, the WebMD guide to hair care basics is a useful reality check.
How often should I wash curly hair in winter?
Less than you think — and less than in summer. Most curl types thrive washing once a week or even every 10 days in winter, because every wash strips moisture you’re then racing to replace. Stretch washes with the protective styles on this list (pineapples, twist-outs, updos all buy you days), refresh with a water-and-leave-in mist instead of re-wetting fully, and use dry shampoo only at the roots if needed. The exception: if your scalp gets itchy, flaky, or irritated, wash — scalp health outranks any schedule, and winter dryness affects scalps too. A gentle sulfate-free cleanser keeps the balance without the straw-like aftermath.
Which protective styles work best for curly hair in winter?
The best winter protective styles tuck your ends completely away from dry air while staying comfortable under hats: flat-twist updos (#3), milkmaid crowns (#2), and braided buns are the top tier. Braid-outs and twist-outs (#5) are semi-protective — the ends are stretched and sealed rather than fully tucked, but they still beat loose wash-and-gos for moisture retention on long hair. Whatever you choose, the style only protects if the hair underneath is properly moisturized first — a protective style on dry hair just preserves the dryness. If you’re deciding between seasons, our fall curly hairstyles guide has transitional styles that carry beautifully into early winter.
What’s the best way to refresh curls between wash days in winter?
Light and layered beats heavy and wet. Mix water with a little leave-in conditioner in a spray bottle, mist the frizzy sections (don’t soak — re-wetting fully in winter just restarts the frizz cycle), smooth a pea-sized amount of cream over the canopy with praying hands, and scrunch to re-form clumps. For flattened roots, flip your head over and shake once at the roots — instant volume. Avoid reapplying gel daily; it builds up and turns crunchy. Most styles on this list refresh well for three to five days with this method, and the silk-wrap (#8) and pineapple (#1) techniques exist specifically to make mornings nearly effortless. If you’re new to curl routines entirely, our summer curly hairstyles guide covers the foundational techniques that work year-round.
The Bottom Line
The best winter curly hairstyles for women aren’t the most complicated ones — they’re the ones that respect what cold, dry air does to curls and work with it instead of against it. Moisturize on soaking-wet hair, seal it in, protect your ends, and pick one or two styles from this list that match your curl pattern and your actual mornings. Give your winner a genuine two-week trial — the same trial our editors ran — and let this be the winter your curls stay defined, soft, and gloriously frizz-free. And if you’re still building your curly wardrobe for the colder months, our short curly hairstyles guide is full of low-maintenance cuts that pair perfectly with everything above. Happy winter, and happy hair days ahead.